
Site hosting news, tutorials, tips, How Tos and more
The great thing about ASP.NET Core is that it’s portable, allowing you to run your Core application on any OWIN-compatible server. So, even if a particular version of .NET Core is not installed on the server, you can still deploy your Core app in “self-contained” mode.
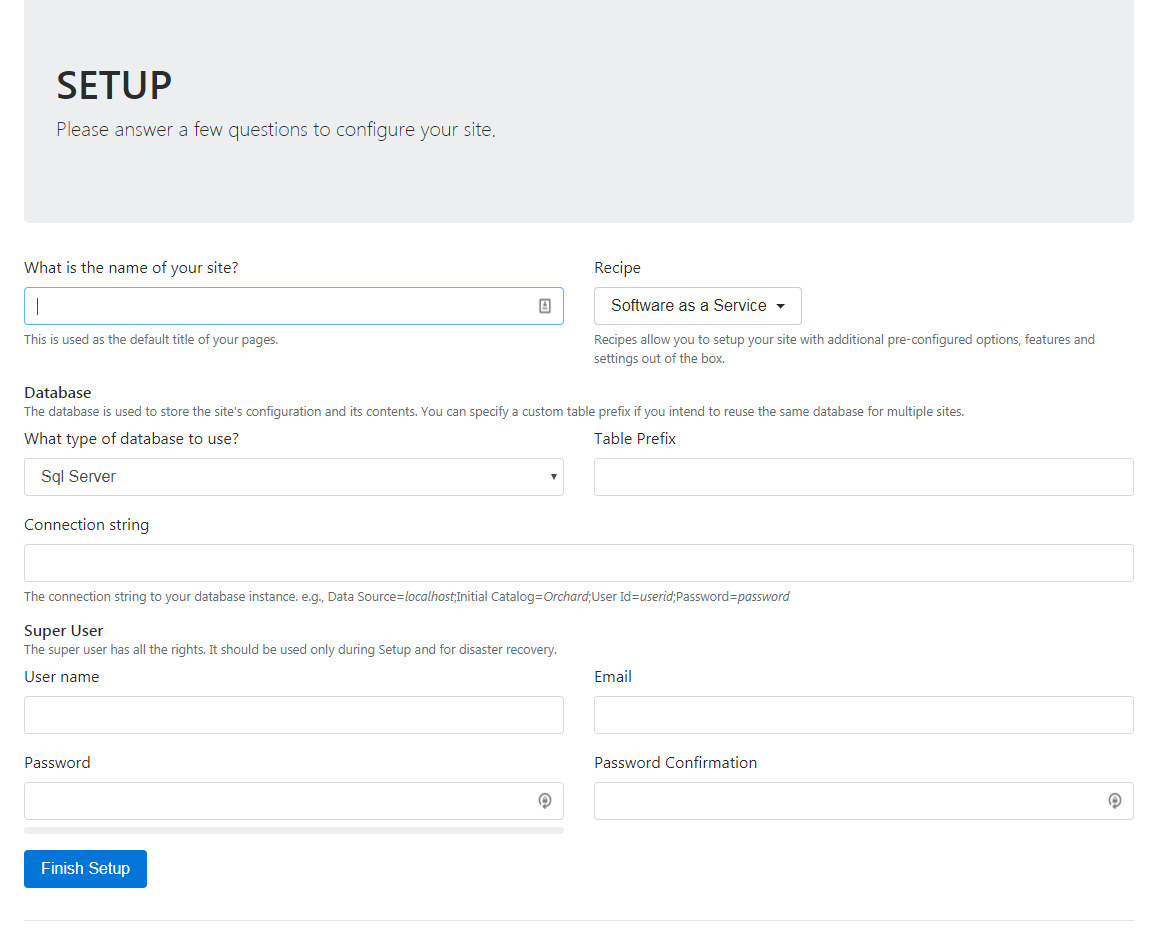
In this example, we’re going to use the Orchard Core application. Orchard Core is a re-write of the original Orchard application (the thing that runs all the MSDN blogs) in ASP.NET Core. As of the time of this writing, Orchard Core is using ASP.NET Core 2.0. And, at the time of this writing, we have not yet updated our servers with the newest .NET Core to support ASP.NET Core 2.0 natively, but, to repeat: you can still deploy your Core app in “self-contained” mode.
First, some house-keeping. Make sure you have the .NET Core 2.0 SDK installed and Visual Studio is updated.
Orchard Core supports different databases, SQL, SQLite, MySQL and Postgres. I’m going to use SQL, which is included with all Winhost plans. This is a good time to create the SQL database in your Winhost control panel.
Onto the instructions:
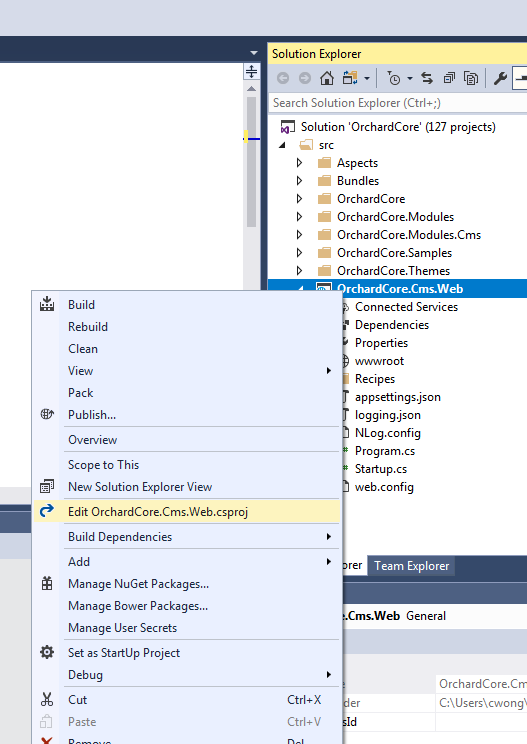
By default, Orchard Core is Framework-dependent. We have to change that to make it self-contained. We have to specify the target platform (tell the application what kind of server it’s going to be running on). In my case, my Winhost site is running on Windows 2012/IIS 8. You can find this information in your Winhost control panel, under the Site Info section. The Runtime Identifier for Windows 2012/IIS 8 is: win8-x64. If you’re site is running on a different server, you can check out the full catalog of Runtime Identifiers here.
<RuntimeIdentifier>win8-x64</RuntimeIdentifier>
Now we’re just about ready to publish. This would be a good time to remove the parts of Orchard Core that you’re not going to use. (For this example site, I didn’t remove anything.)
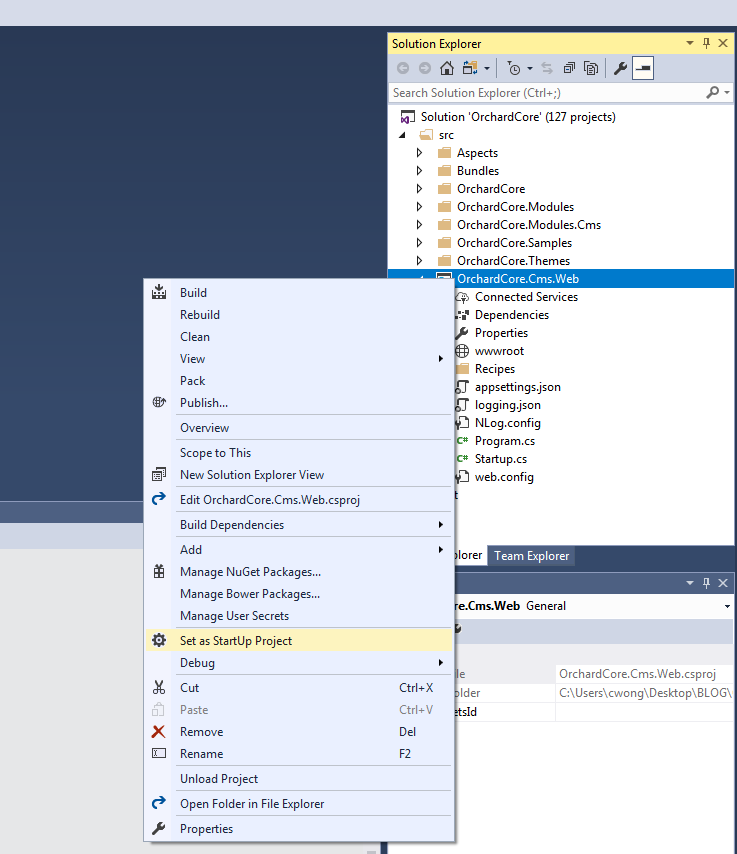
Before, pre-2.0, we would have run the dotnet restore and dotnet build commands at this point. But now, those are implicit commands with publish. So you can just run the publish command (right-click OrchardCore.Cms.Web and select “Publish…”). I used FTP to publish the project directly onto the Winhost servers. Instructions for different deployment methods are available here.
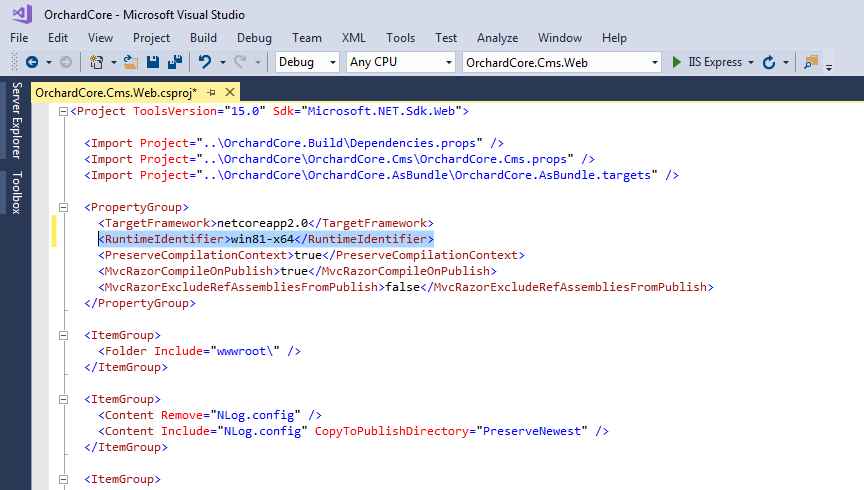
Wait for the project to publish, then navigate to your site and you should see the Orchard Core setup page:
I picked the Agency Recipe. Fill out all the fields, click the Finish Setup button and you should see your new site:

![]()
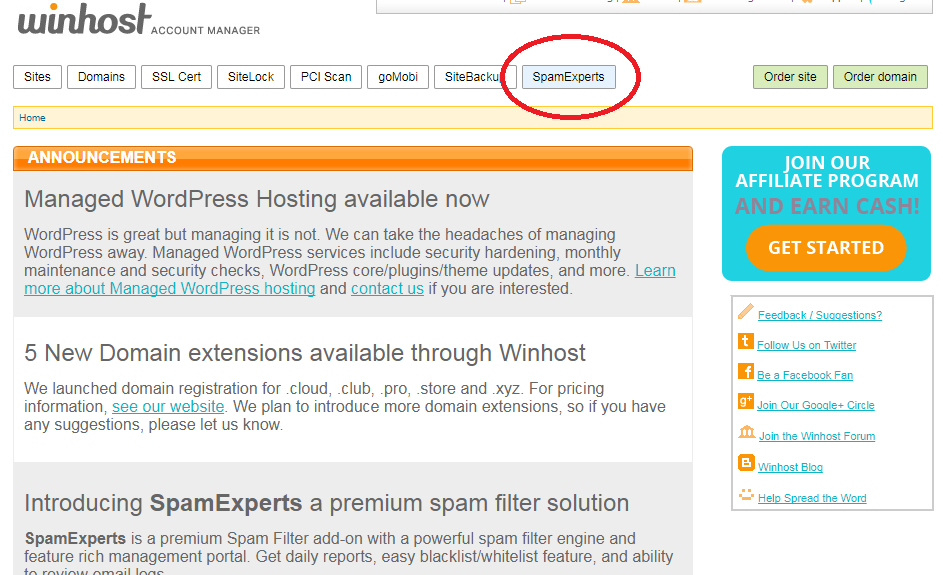
SpamExperts is a great anti-spam service. It’s easy to use, and relatively inexpensive because you just need one service to cover your entire domain. (Most other spam services require you to buy one service for each of your email addresses.) Our SmarterMail email service (included with all of our plans) comes with some spam-fighting features that allow you to set your own weights and filters. But a lot of our customers were not comfortable with tweaking those weights and filters on their own and risk losing important emails.
SpamExperts is highly effective out-of-the-box. Simply set-it-and-forget-it. In fact, we found it so effective that we switched over to using it for our own corporate emails.
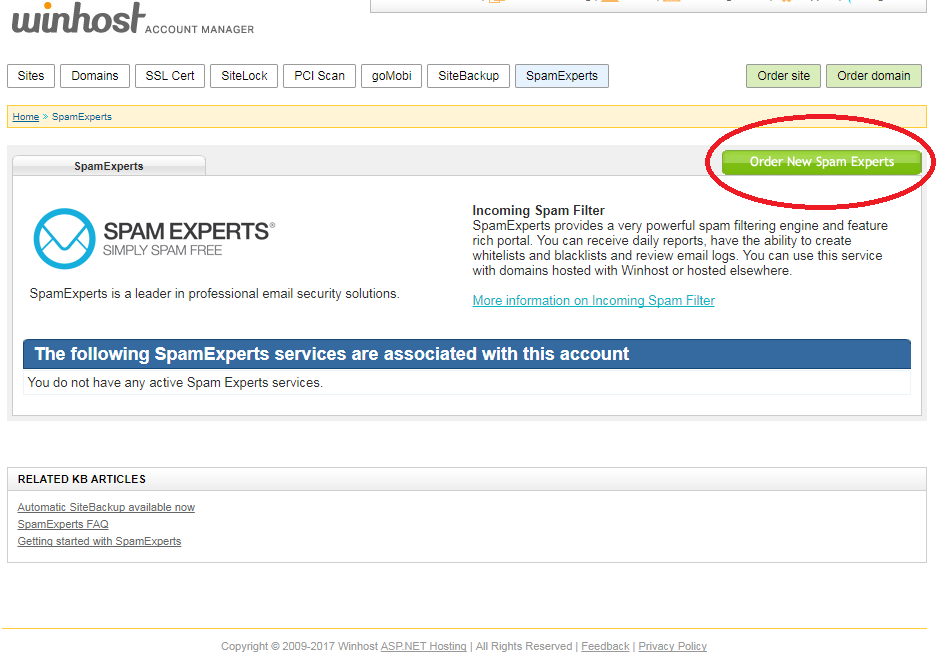
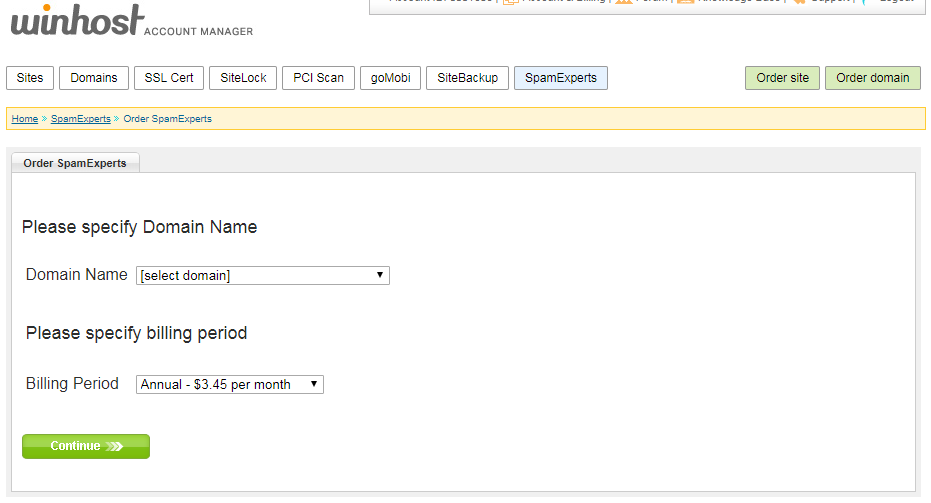
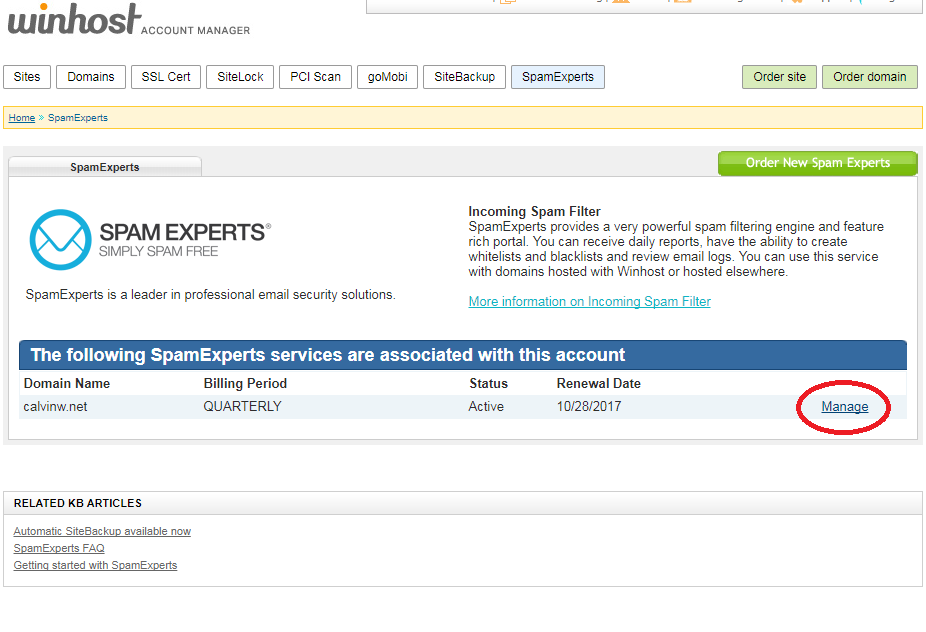
This articles explains how to set up your SpamExperts service.
On the next page, you can set where SpamExperts will send your email after filtering. Our system will look up the current email servers for your domain. This will be the correct setting for most users.
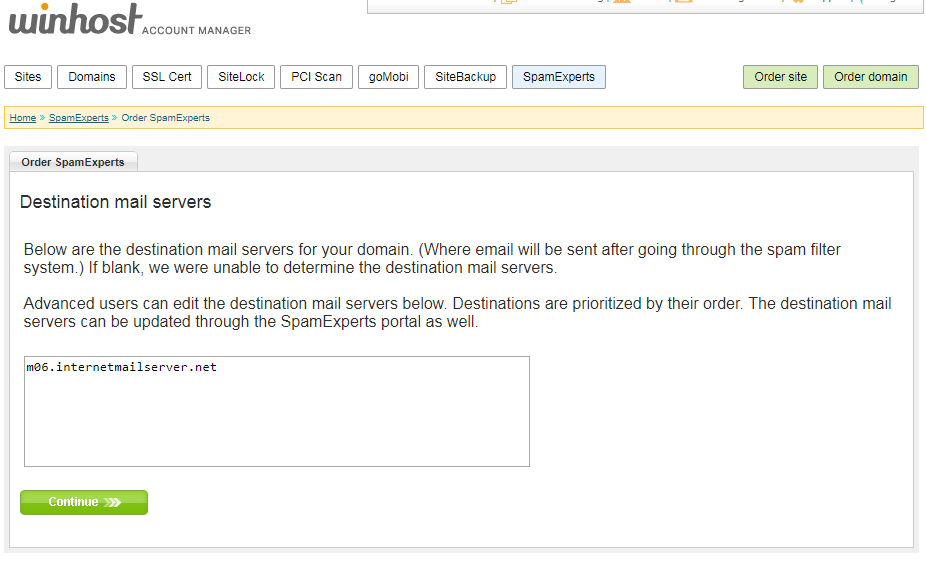
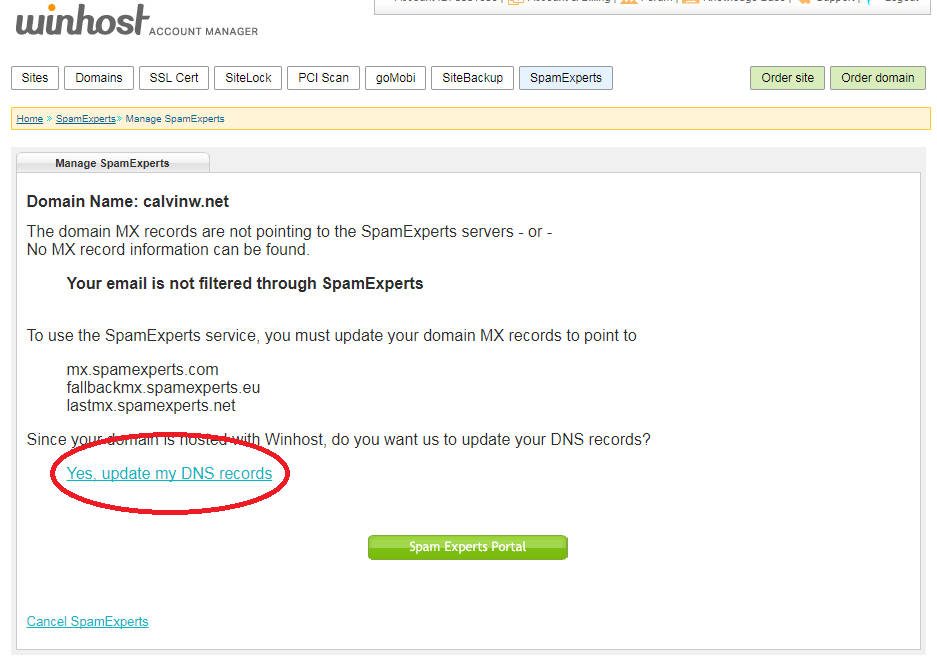
The service will only take a few seconds to set up. Now you have to set up your domain mail records (MX Records) to point to the SpamExperts service.
On the next page, you’ll see the SpamExperts MX Records to use. If you are using our nameservers, our system will automatically set up the MX Records for you.
And you’re all set! Again, SpamExperts works great out of the box. If you’re so inclined, you can click the green SpamExpert Portal button to get the SpamExperts interface to make changes to the service settings.
A note about Greylisting: Greylisting is an effective anti-spam function that we enable in SmarterMail by default. Greylisting can delay when you receive new emails. Disabling Greylisting gets rid of the delay, but likely results in much getting more spam. With SpamExperts filtering out spam, you can disable Greylisting in SmarterMail. No spam, no delay. Yay!
![]()
SiteBackup is a set-it-and-forget-it backup service that will automatically backup your website and database. Backups are stored in a remote location and previous versions can be restored to the web server with just a click. Here are instructions on how to order and set up SiteBackup.
You can order SiteBackup through your Winhost Control Panel. We offer three plans, each with different storage amounts. You only need one SiteBackup plan to back up all of your sites, so just pick the plan with enough storage to cover your sites. Click the orange button to select the plan you want, then click the Submit My Order button on the next page.
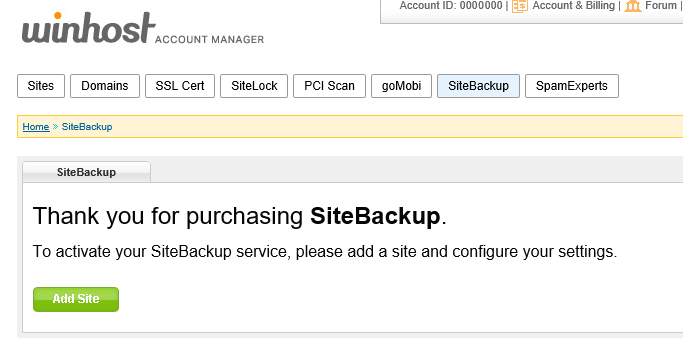
It takes a few minutes for our system to provision the service. You can click the Back button or the SiteBackup tab, and if the service is ready, you’ll see this page, where you can add a site:
Click the Add Site button and on the next page you can select the sites you want to back up.
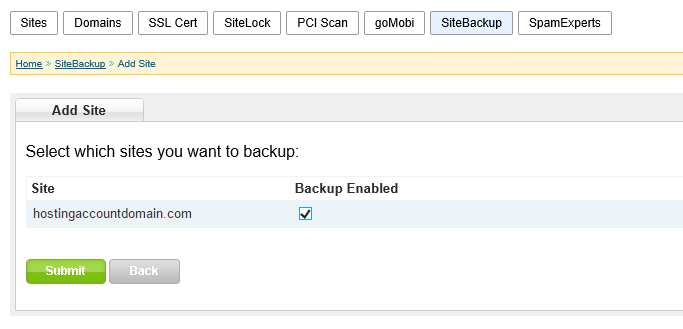
Select which site(s) you want to back up, click the Submit button, and our system will automatically pass along the required info. On the next page, you can click the SiteBackup Management Tool link to get to the SiteBackup Dashboard interface.
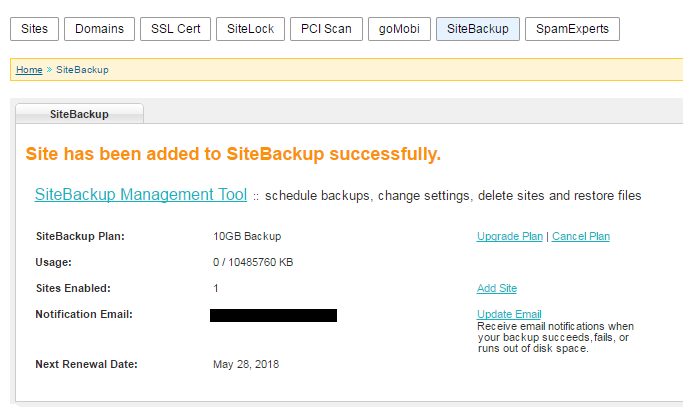
On the SiteBackup Dashboard, you can configure your backup schedule. By default, there will be a daily backup scheduled. You can keep that, change the backup time, change the backup frequency, and run an immediate backup.
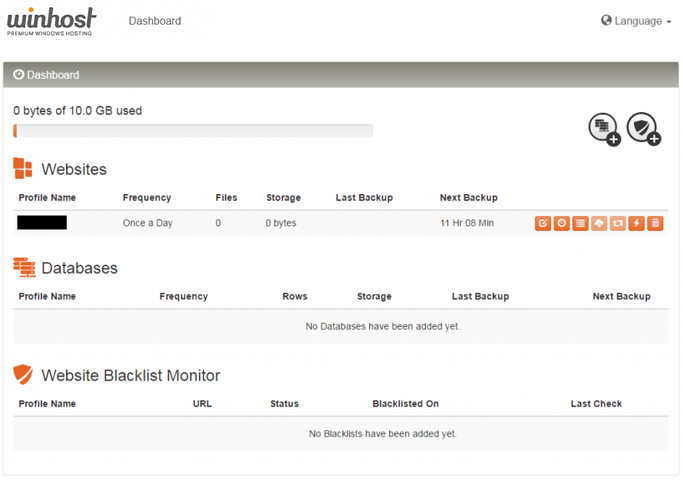
You can also back up your databases (the example in that Knowledge Base article is an MS SQL database, but SiteBackup can also back up your MySQL databases).
The system will email you if a backup fails (like when you change the FTP password). So just keep an eye out for those emails. But other than that, it’s set and you can forget it.
![]()
We support secure SSL/TLS connections to our email server. We’re going to show you how to setup a secure connection with your iPhone.

For the “Incoming mail server”, enter:
For the “Outgoing mail server (SMTP)”, enter:
You will get a certificate warning about the server identity. We installed an SSL certificate on our email server for the convenience and security of our customers. But the problem is that we can’t install a certificate for every customer domain on the server. Instead, we installed a certificate for *.internetmailservice.net. The iPhone will display the warning because of the domain name mismatch; you are trying to reach mail.HostingAccountDomain.com, but the SSL certificate was issued to *.internetmailserver.net. The certificate we installed is safe to use.
Your iPhone may set the default SMTP port to 25. Many internet service providers block port 25, so you should change the SMTP port to 587.
You’re all set! Now your iPhone now has secured, encrypted communication with our email server.
![]()
![]()
myLittleAdmin is a tool that allows you to manage your SQL database through a web browser. Here at Winhost, we support SQL Server Management Studio (SSMS), which is the preferred method for managing your database (you can find out how to do that in this KB article.)
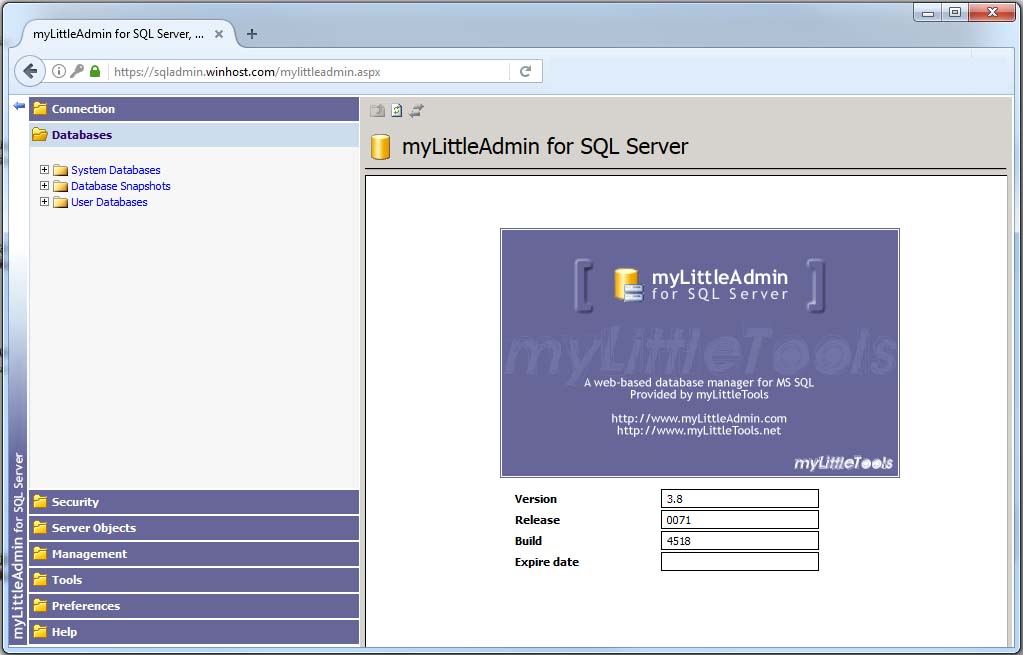
But sometimes you can’t use SSMS – maybe you’re sitting behind your corporate proxy restrictions, or you’re using a computer without SSMS installed. That’s where myLittleAdmin steps in. It’s a web-based SQL management tool that provides a friendly interface for you to edit tables, work on stored procedures, run queries and much more.
We have a license agreement for myLittleAdmin, so you can use it on our system without having to obtain your own ($590!) license. There’s nothing to install. Just go to https://sqladmin.winhost.com
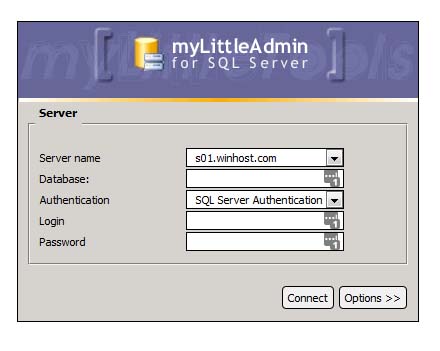
Log in to your database, and get your SQL on!
![]() If you’re using the anti-virus application Kaspersky Endpoint Security 10 for Windows and Filezilla for FTP, you might have encountered an ENETUNREACH “Network unreachable” error when trying to upload your files to the server. Or, perhaps you updated Filezilla to version 3.11.0 (or above) and it stopped working, giving you the same ENETUNREACH error.
If you’re using the anti-virus application Kaspersky Endpoint Security 10 for Windows and Filezilla for FTP, you might have encountered an ENETUNREACH “Network unreachable” error when trying to upload your files to the server. Or, perhaps you updated Filezilla to version 3.11.0 (or above) and it stopped working, giving you the same ENETUNREACH error.
![]() This is a known issue between Filezilla and Kaspersky. It happens because of the new way Filezilla binds IP addresses to prevent data connection stealing. You can read about the details in this forum post.
This is a known issue between Filezilla and Kaspersky. It happens because of the new way Filezilla binds IP addresses to prevent data connection stealing. You can read about the details in this forum post.
You can fix this issue by either reverting back to an earlier version of Filezilla (version 3.10) or by adding an exclusion to the Kaspersky firewall.
Follow these directions to add an exclusion for Filezilla:
You should be able to connect to the server with Filezilla now.
Of course, there are lots of other reasons why you may get an FTP error. If you do, we offer free (and excellent) technical support for our customers. You can always reach our Support team 24/7 at [email protected] or through our support portal at support.winhost.com.
![]()
Jetpack is one of the most popular plugins available for WordPress (with over 29 million downloads!), created by Automattic – the same people who made the WordPress app itself. It’s a Swiss Army knife for you site with over a dozen different functions all rolled into one plugin.
It includes essential tools like a website stats, subscriptions, social network sharing and a contact form. It will also hookup with WordPress.com to perform related posts and website uptime monitoring. And it’s free!
![]()
If you try to implement Jetpack on Winhost, it won’t work out of the box. By default, we filter requests to the xmlrpc.php file. WordPress.com will try to ping that file during the activation process and it will fail.
One of the reasons we block requests to the xmlrpc.php file is because of an exploit hackers can use to get your WordPress username and password. You can read about the exploit in this excellent Sucuri article.
If you don’t want to bother reading the article, in short, hackers can try thousands of username/password combinations with one request and try to brute force their way into your WordPress site.
But don’t worry, you can still get Jetpack to work by simply overriding our default request filtering. You just have to add this setting in your web.config file:
<configuration>
   <system.webServer>
      <security>
         <requestFiltering>
            <denyUrlSequences>
               <clear />
            </denyUrlSequences>
         </requestFiltering>
      </security>
   </system.webServer>
</configuration>
If you just have a WordPress site on our service, or if you used our App Installer to install WordPress, you might not have a web.config file on your site, so you’ll have to create one. Just follow these instructions:
You should now be able to activate the Jetpack plugin. But before you go, there’s the pesky security issue! Your xmlrpc.php file is now susceptible to that security exploit, which may allow hackers to get your username and password. Let’s fix that!
![]()
The best way to prevent the xmlrpc.php brute force exploit is to get SiteLock with TrueShield CDN. You will need both SiteLock and TrueShield. TrueShield will block those suspicious requests trying to get your username and password, and protect your site from all sorts of other bad stuff not covered in this article. (If hackers were limited to just one exploit, our jobs would be so much easier!) We highly recommend getting SiteLock and TrueShield. It will block malicious bots, comment spammers, and likely make your site faster, too!
Another solution would be to use Jetpack’s own Protect function. You have Jetpack installed, now use it! Just activate the Protect feature in Jetpack in the Admin panel. The Jetpack team confirmed that it works.
Finally, though perhaps foremost: always use a strong password for your site! Please don’t use qwerty123 or pa$$w0rd.
Actually, do all three – get SiteLock with TrueShield, activated Jetpack Protect, and keep those passwords strong!
![]()
When you order an SSL certificate from us, your primary domain name will be secured for free. So, if you order an SSL certificate for www.HostingAccountDomain.com, then HostingAccountDomain.com.com will be added as a Subject Alternative Name automatically.
So you can secure both www.HostingAccountDomain.com and HostingAccountDomain.com with just one certificate.
This works for any subdomain, not just for the www. prefix. You can order a certificate for login.HostingAccountDomain.com and HostingAccountDomain.com will be added to the certificate.
Here’s a sample certificate where you see both the subdomain and the primary domain secured:
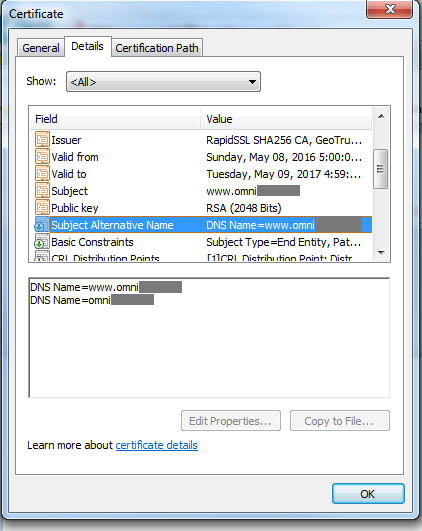
Note that this is only applicable to single-level domains. For example, www.test.HostingAccountDomain.com will not secure test.HostingAccountDomain.com.
This works for all of the certificates available through Winhost!