
Site hosting news, tutorials, tips, How Tos and more

Lately, we have been seeing a higher number of DotNetNuke (DNN) sites getting hacked via a known Telerik.Web.UI.dll vulnerability that’s been around for years. DNN released a patch a few years back. However, we have been seeing in influx of compromised DNN sites caused by this easy-to-fix vulnerability.
If you’re using DNN Versions 5.6.3 through 9.0.1 you must apply this patch to avoid disruptions to your site. More importantly, prevent it from getting hacked.
If you are running a DNN site and need help or want us to patch DNN for you, stop reading and contact our support department. We can help you apply this patch to your site at no cost. Please note that if your DotNetNuke site requires upgrading, then we can help you with that but we do charge for upgrading services.
First thing you need to do is download the patch directly from the DNN Site here: Critical Security Update September 2017
Once you have zip file from the DNN Site, you need to install it as you would an Extension within DNN.
Log into your DNN site as the SuperUser default login.
Navigate to: [HostingAccountDomain.com]/Admin/Extensions
Or look for the Extensions link within your DNN Site.

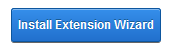
Click on the Install Extension Wizard button
Select Choose File button and select the zip file you just downloaded from DNN in Step 1 and click Next
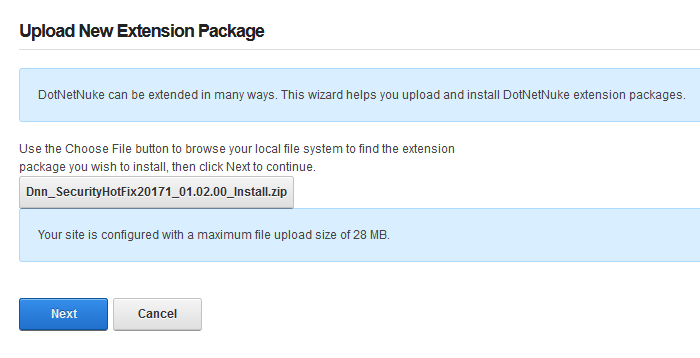
If you receive a random 500 or 404 error within your DNN site after clicking Next from Step 5. Please note the following, otherwise move on to Step 6 below.
You most likely received this error because you need to increase your maxRequestLength setting within your web.config file. You can access this file via FTP.
Look for the setting: maxRequestLength=”12288″
And change it to: maxRequestLength=”28000″
The above increases the limit to 28 MB.
Save your changes and upload the updated web.config file into the same directory overwriting the old web.config file.
Then try Step 5a again.
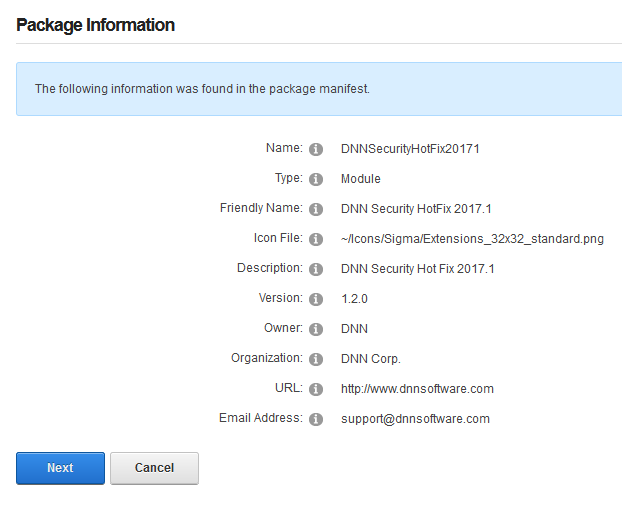
You will see the Package Information about the HotFix. Go ahead and click on Next.
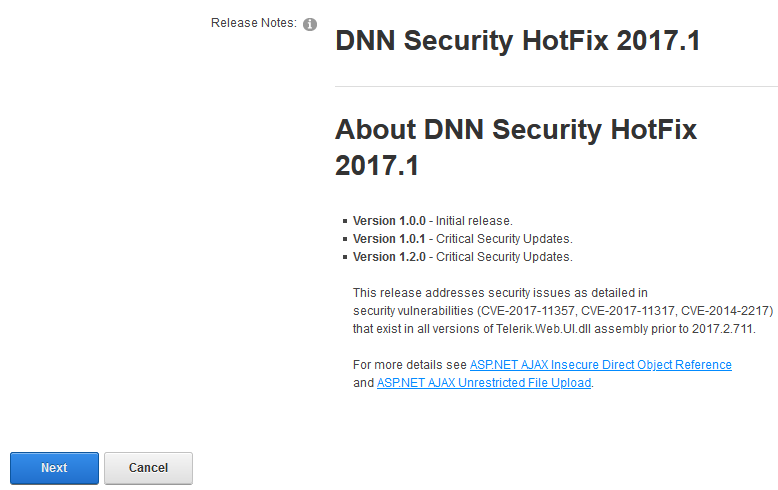
Click Next on the Release Notes window
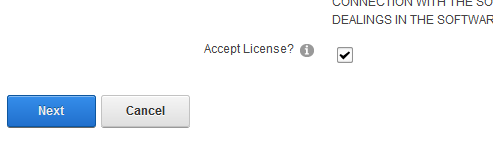
Read and place a check next to Accept License
Click Next.
You will then see the Package Installation Report. Click on the upper right X to exit out of the window.
Once your extension page is reloaded. You will see the newly installed Patch for your site.

If you are using DNN, make sure to look into this. There are hackers out there that are targeting DNN and we don’t want you to be a victim of their malicious activities.
If you have any questions or concerns, just contact us.
Thanks for you.