![]()

In this tutorial I’m going to show you how to install nopCommerce using the Winhost App Installer in Control Panel. It’s recommended to be on the Max or Ultimate plan if you plan on using nopCommerce for your site. If you are currently on the Basic plan please read our knowledge base article on how to upgrade your hosting plan.
To get started: You are going to need to create a SQL database in Control Panel first.
Login to Control Panel.
Click the Sites tab.
Click the “Manage” link next to the site you wish to install nopCommerce on.
Now we want to create a SQL database for nopCommerce.
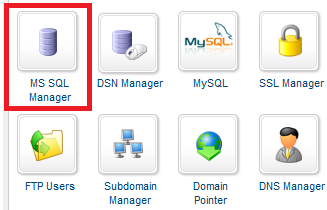
Click the MS SQL Manager box.

Click the green “Add” button.
Now enter a database name and how much SQL disk space you wish to allocate to it.
Click the green “Create” button.
To change the password for the main SQL database user, click “Manage” next to the SQL database.
Click on “Edit” next to password and update it.
Save these settings because we will need them later when we’re installing nopCommerce.
Go back to the “Site Manager” page of Control Panel.
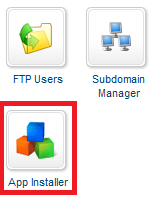
Click the “App Installer” box.

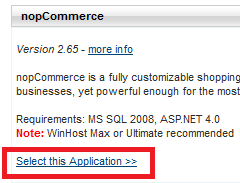
Click the “Select this Application” link.

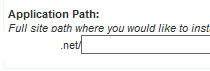
In this tutorial I will be installing nopCommerce in the root directory of my hosting account. If you want to install nopCommerce in a subdirectory you will need to enter the name of the subdirectory in the section below.
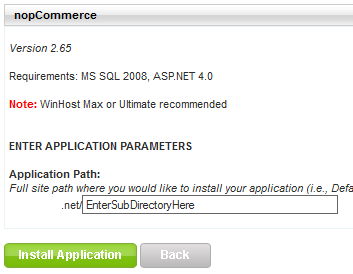

Since I’m installing nopCommerce in the root I will need to remove the text in the box field above. So this field will be empty for me:

WARNING: Using the App Installer tool will delete all files within the Application Path location.
Since I’m installing the web application in the root of my hosting account, everything in my hosting account will be deleted and nopCommerce will be installed.
Click the green “Install Application” button to start the installation on the web server.
Once completed you will receive the a message “Your application installed successfully.” Click the link below this notification (note: If your domain name isn’t pointing to our web servers yet, you will need to use the secondary URL to view your site on our web servers). The secondary URL can be found on the control panel Site Manager page.
Once you’re on the site where nopCommerce was installed, enter the following information:
Admin User Email:
Admin Password:
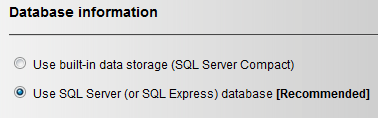
For Database Information we’ll be using the following setting:

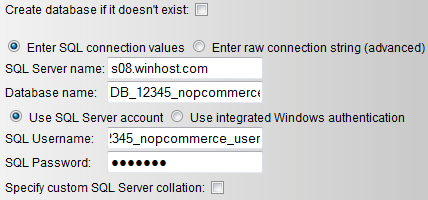
Remember the settings you saved for your SQL database? You will now need to enter them in the below section. My example is the following:

Now click the “Install” button.
Wait for the following screen; “Installing nopCommerce…” to finish.
Once its completed you will be brought to the default page of nopCommerce.
You’re now done with the installation. Don’t forget to pat yourself on the back. 🙂
If you run into any issues or have any questions regarding nopCommerce, please post your questions in our Community Forum. The Technical Support department is unable to assist with nopCommerce installation or configuration.