![]()

Here’s another tip for those who are new to web hosting or Windows web hosting. Under Windows/IIS, you can specify the default web page that will load up when you enter your site’s domain name. We have preconfigured IIS to automatically load one of these files:
index.html, index.htm, index.asp, default.html, default.htm, default.asp, default.aspx, winhostdefault.htm
And here are the instructions to change these settings:
1. Download and install IIS7 Manager from Microsoft: http://www.iis.net/download/iismanager
2. Configure IIS7 Manager to access your site account. You can follow the instructions in this Knowledge Base article.
Or follow the steps below:
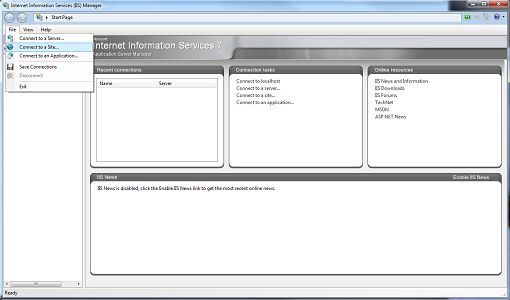
A. Select File -> Connect to a Site…

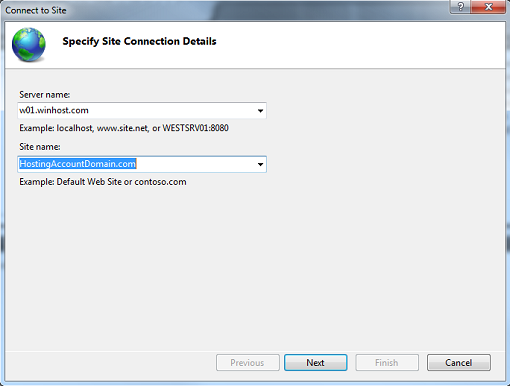
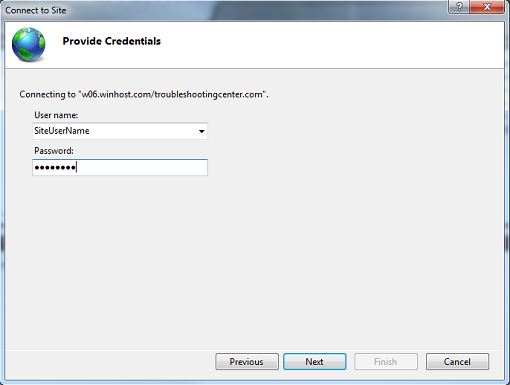
B. Enter the Server name and Site name. This information can be found in the Winhost Control Panel.


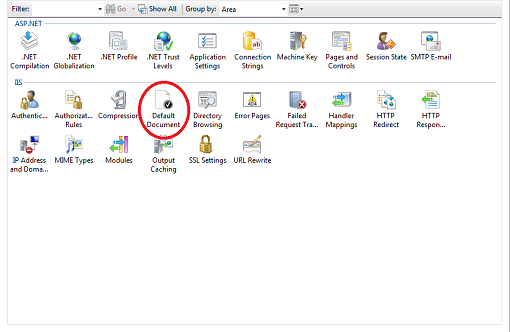
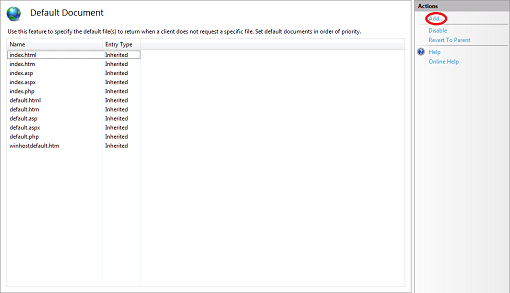
3. You will now see a number of delegated modules. Double click on the Default Document module.

4. To add a page to the Default Document list, click on the Add… link.

5. Here, I have added a page named homepage.html to the list.
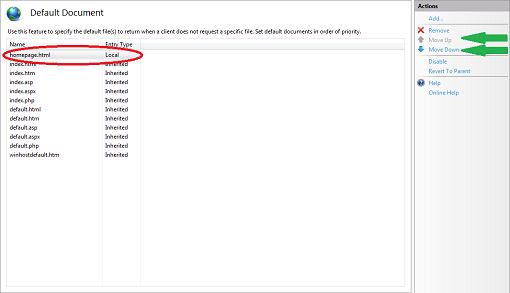
The page that automatically loads is determined by rank from top to bottom. This means if IIS cannot find a homepage.html, it will look for index.htm next and go down the list until the list is exhausted. You can use the Move Up and Move Down links (indicated by the green arrows) to change the rank order. Consequently, you can also Remove pages you do not wish to be on the list.
As a final note, I’ve shown you how to configure the Default Document for the root of your site. You can also configure the Default Document for any subdirectory by selecting it on your left, and then double clicking the Default Document module. Please note that all changes are written immediately to the web.config file in the appropriate directory on the server, and if you know the web.config file well enough, you can also manually add the XML entries using any text editor.