![]()

Did you know that SQL Server Management Studio has an excellent tool to help you export the data contained in your tables to other useful formats? Here’s a guide on how to use the SQL Server Import and Export Wizard.
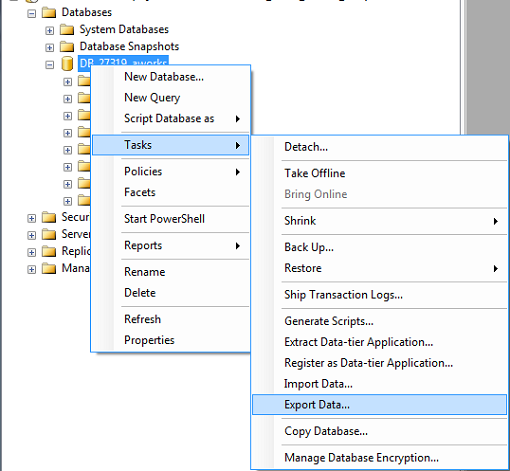
First, connect to your Winhost database using SQL Server Management Studio. For this tutorial, I am using the sample AdventureWorks database provided by Microsoft. Once you have logged into your database, right click on it and select Tasks -> Export Data…

This will launch the SQL Server Import and Export Wizard.
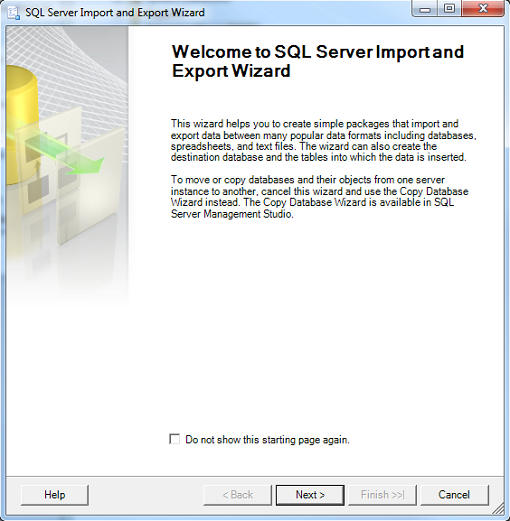

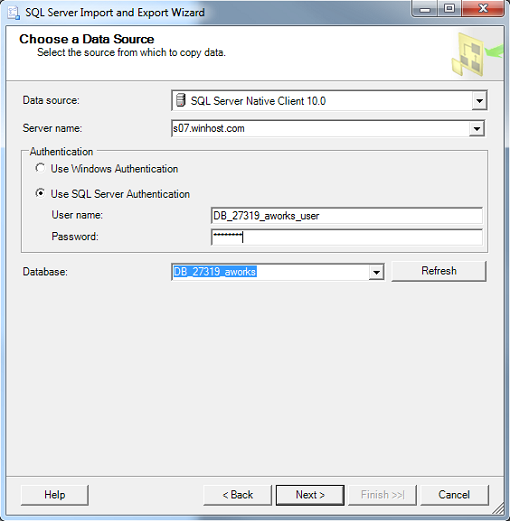
Click on Next to continue. Now, you will need to choose a Data Source. You can leave the Data source as SQL Server Native Client 10.0. Enter the Server name. Check SQL Server Authentication and enter the User Name and Password for your database. For the Database dropdown menu, select the name of your database.
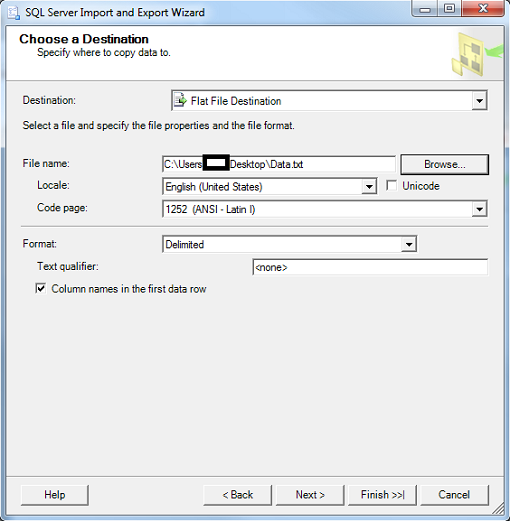
Click on Next to continue. In the Choose a Destination window, you can select a variety of formats to export to including Microsoft Access, Microsoft Excel, and another Microsoft SQL Server database. For this tutorial, I will be showing you how to export your data to a flat file (i.e. .txt and .csv).


You can leave the Locale as English (United States) and Code page as 1252 (ANSI – Latin I). The Format will be Delimited and check Column names in the first data row. You can set a Text qualifier if you’d like, but I’m not going to.
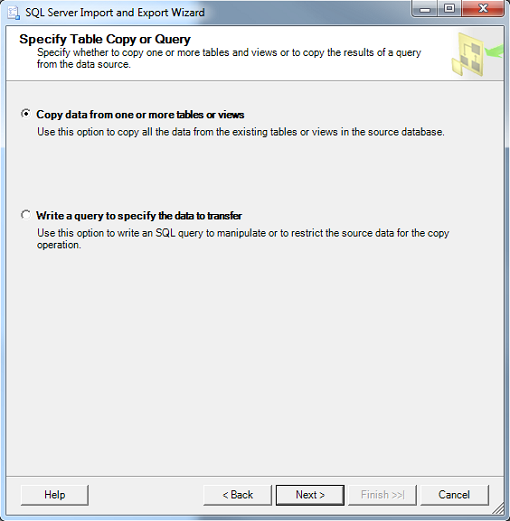
Click on Next to continue. In the Specify Table Copy or Query window, check Copy data from one or more tables or views. If you check the other option, you can write your own SQL query (SELECT statement) to extract the data you want from two or more tables.
Click on Next to continue. In the Configure Flat File Destination window, I will be drawing data from the Employees table. In Source table or view, select [HumanResources].[Employee]. You can leave the Row delimiter as {CR}{LF} and the Column delimiter as Comma {,}
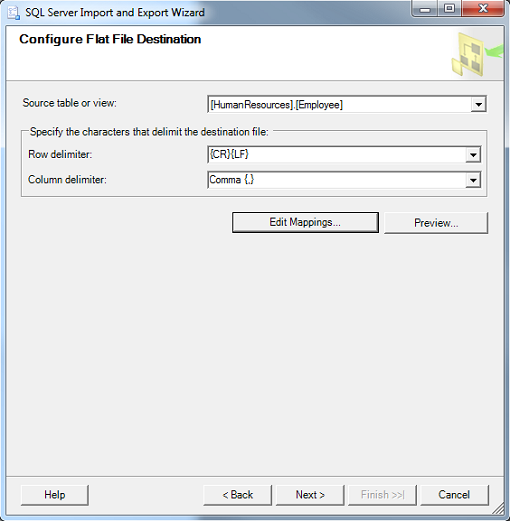
You may also want to spend some time looking at Edit Mappings. For a flat file, you can choose not to include certain columns to be exported by selecting the Destination column name and choosing <ignore> as shown below.
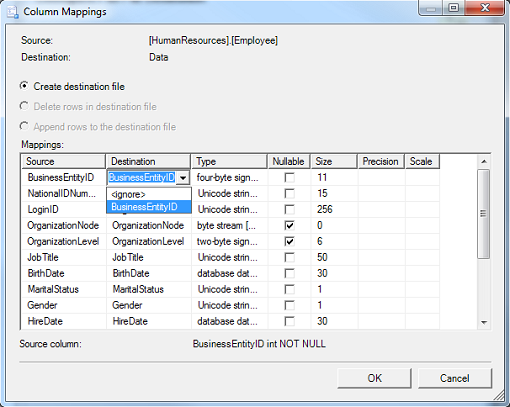

This tool is actually more powerful when you are exporting to an existing file that already has column names in place as you can map a column name from the Source file to a different column name in the Destination file.
For example, you have an Excel file with a column named BEID. You can map BusinessEntityID to BEID. The data will be populated in the BEID field in Excel. Click on Next to continue. This will bring up the Run Package page.
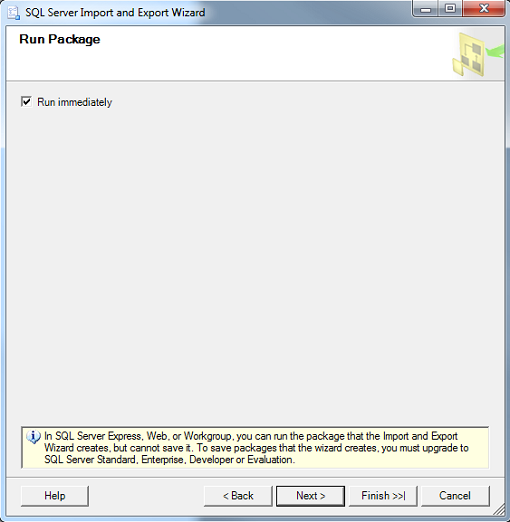

Click on Next to continue. The Wizard is complete and you can click on Finish.
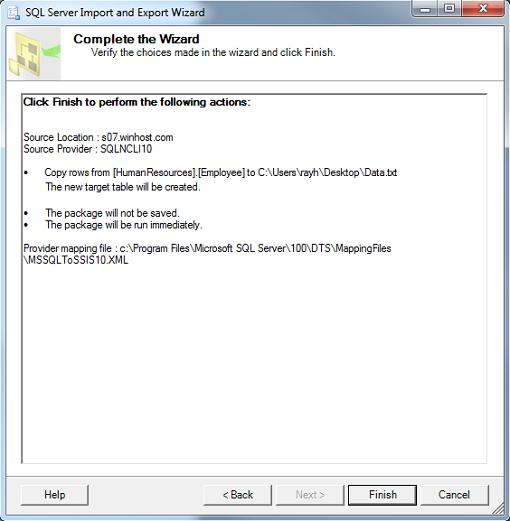
The Wizard will now run through a series of checks prior to exporting the data. If everything goes smoothly, you should get the screen below.
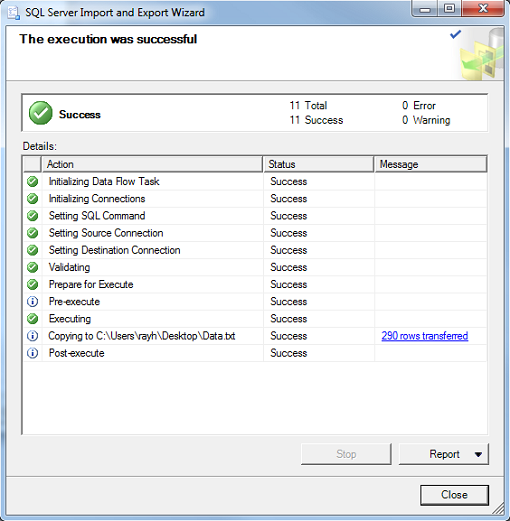
If you run into any errors, there will be a link in red which you can click and review the problem the wizard is having. You can use the Back button to correct the problem and go through the steps again until you are able to successfully export the data.