Magento is one of the leading e-commerce platforms available today with a market share of about 30% among the 30 most popular ones according to Wikipedia. I’ve tried playing around with it in the past, but I was never able to install it and configure it correctly on Windows until now.
Prompted by one of our customer’s request for help, I decided to investigate the problem further. Although Magento was never designed to be supported under IIS (even their developers say so), it is entirely possible to run it under IIS, and I will show you how (and cover some pitfalls you might encounter along the way).
Unfortunately, to get Magento running on Winhost, you’re going to need to install IIS and PHP (preferably version 7.0+) on your own machine and install it there first. That’s because you’ll need to run a command through their CLI (Command Line Interface) to deploy some static files (i.e. .css, .js, etc.) so that it will render correctly in a browser.
It took me weeks to figure out, but the CLI won’t process an argument correctly (i.e. it doesn’t think it exists) unless it thinks Magento has been installed already (i.e. you can’t just run the CLI after extracting the files from the .zip. You’ll need go through the browser setup wizard first.)
I’m afraid I won’t have time to go into details about how to install IIS and PHP on your machine because the process can be different for different versions of Windows, but there are plenty of guides out there on the Internet if you need help. You could even save yourself some time and trouble by using an all-in-one installer like EasyPHP Devserver.
Now, on to the tutorial.
Prerequisite Steps
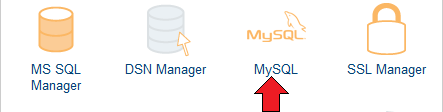
First, you need to create a MySQL database through the Control Panel.
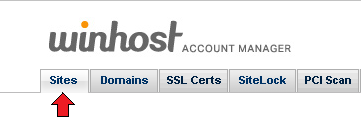
Click on the Sites tab.


Click the Add button and enter the values for Database Name, Database User, and Quota. Click the Create button to finish creating the database. Now click on the Manage link and record the connection information (Database Name, Database Server, Database User, and Database Password) on a piece of paper or a text editor such as Notepad.
Now go back to the Site Tools section of the Control Panel (where you clicked on the MySQL icon) and click on the PHP Version icon.
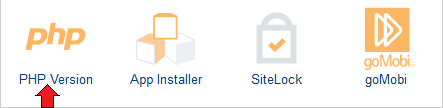

Set the PHP version to 7.0 – Beta in the drop-down box and click on the Update button.
Installing and Configuring Magento on Your Local Machine
After you have setup IIS and PHP on your local machine, download the source code from Magento’s website.
Extract the contents using a decompression program such as WinZip or 7-Zip. Now, open up the file DbValiditor.php which is in .\setup\src\Magento\Setup\Validator in a text editor and edit line 106.
Change it from:
return $this->checkDatabaseName($connection, $dbName) && $this->checkDatabasePrivileges($connection, $dbName);
To:
return $this->checkDatabaseName($connection, $dbName); //&& $this->checkDatabasePrivileges($connection, $dbName);
Basically, you want to comment out the database privileges validation check, or you will encounter this error when you get to Step 2 of the installation wizard:
Database user does not have enough privileges. Please make sure SELECT, INSERT, UPDATE, DELETE, CREATE, DROP, REFERENCES, INDEX, ALTER, CREATE TEMPORARY TABLES, LOCK TABLES, EXECUTE, CREATE VIEW, SHOW VIEW, CREATE ROUTINE, ALTER ROUTINE, EVENT, TRIGGER privileges are granted to table ‘mysql_#####_magento’.
You get this error because some permissions cannot be granted to you in a shared hosting environment (e.g. CREATE DATABASE).
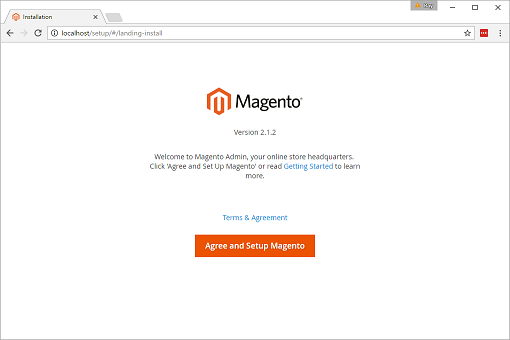
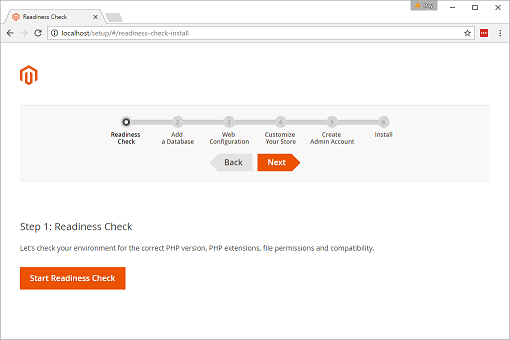
Add a site to IIS, move the extracted files to new site that you created, and then launch the site in a browser. If everything has been installed and configured correctly, it will start a wizard, and you should get a screen like the one below.

Step 1: Readiness Check
Click on the Start Readiness Check button to make sure everything is configured correctly (e.g. you might need to enable some PHP extensions before you can continue). Click on the Next button if everything checks out.
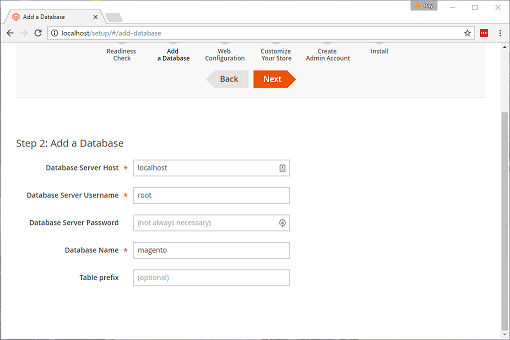
Step 2: Add a Database
On this page, fill out the fields with the connection string information to your Winhost database that you recorded earlier. Click on the Next button to proceed.
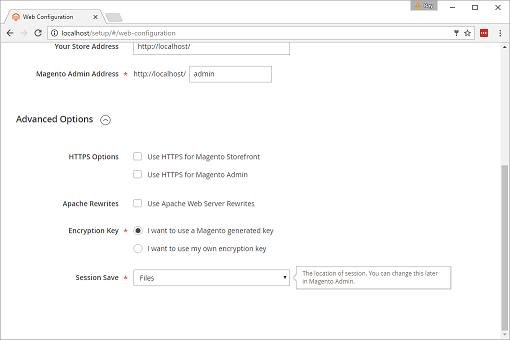
Step 3: Web Configuration
On this page, you can change the default Magento Admin Access directory. You should definitely change the Your Store Address field to that of your domain name and uncheck Apache Rewrites. Click on the Next button to continue.
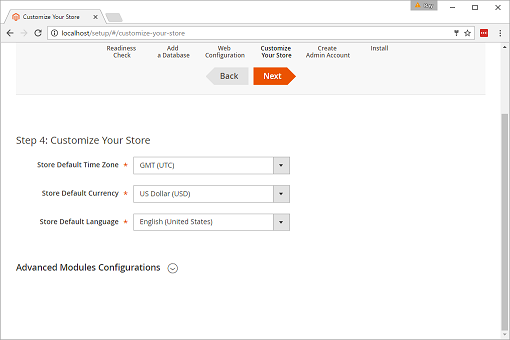
Step 4: Customize Your Store
There’s nothing on this page that needs to be changed, so you’re welcome to customize Magento further if you want before clicking on the Next button.
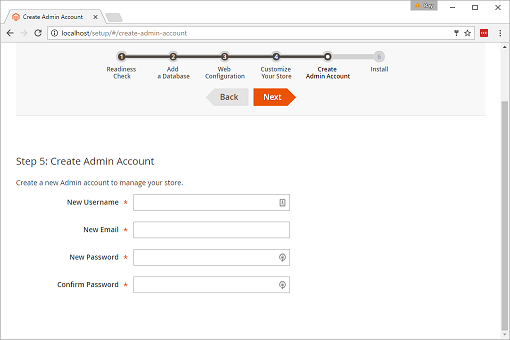
Step 5: Create Admin Account
Page is self-explanatory. Click on the Next button when you’re done.
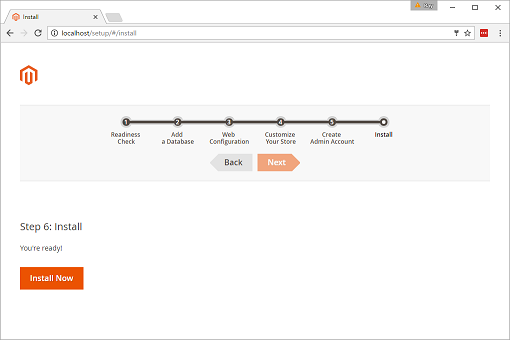
Step 6: Install
Like the page says, you’re ready. Click on the Install Now button.
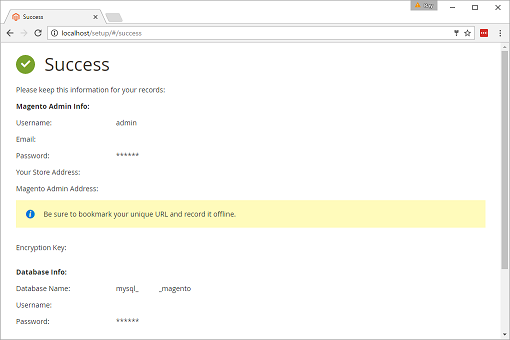
Success
Once the installation has completed, you should see a screenshot like the one below.
Edit your php.ini file and make sure your memory limit is set to at least 256 MB. The following is the line you should look for with the correct markup:
memory_limit = "256M"
This should prevent the error below from being thrown when executing the next step. (I had mine set at 128 MB when I encountered the error.)
Check https://getcomposer.org/doc/articles/troubleshooting.md#memory-limit-errors for more info on how to handle out of memory errors.
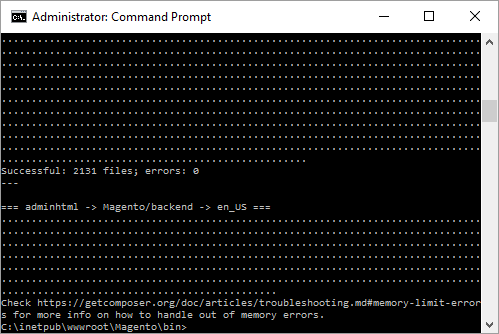

Now open up the command prompt with Run as administrator and navigate to Magento’s bin directory and type in the following command:
php magento setup:static-content:deploy
This will deploy the necessary files to the \pub\static directory that will render Magento’s UI correctly. If it’s successfully, you should get the following message:
New version of deployed files: 1476659614
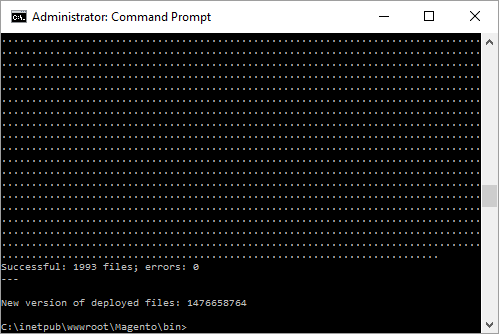
If you encounter the error I mentioned earlier, you could also try running the command again (this also worked for me). You just need to make sure each section says “Successful”, and it ends with “New version of deployed files”, otherwise, you may have some further troubleshooting to do.
Create a web.config file with the following markup and place it in the root of the Magento installation:
<?xml version="1.0" encoding="UTF-8"?>
<configuration>
  <system.webServer>
    <rewrite>
      <rules>
        <rule name="Imported Rule 1" stopProcessing="true">
          <match url=".*" ignoreCase="false" />
          <conditions>
            <add input="{URL}" pattern="^/(media|skin|js)/" ignoreCase="false" negate="true" />
            <add input="{REQUEST_FILENAME}" matchType="IsFile" negate="true" />
            <add input="{REQUEST_FILENAME}" matchType="IsDirectory" negate="true" />
          </conditions>
          <action type="Rewrite" url="index.php" />
        </rule>
      </rules>
    </rewrite>
  </system.webServer>
</configuration>
This is required so you can access the Admin Interface.
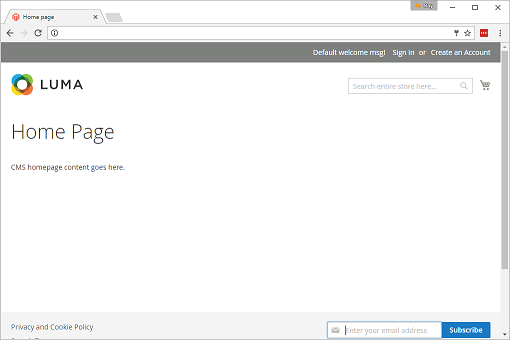
Upload all the files to your Winhost account. Now, enter the URL of your domain in a browser. You see a screen like the one below.
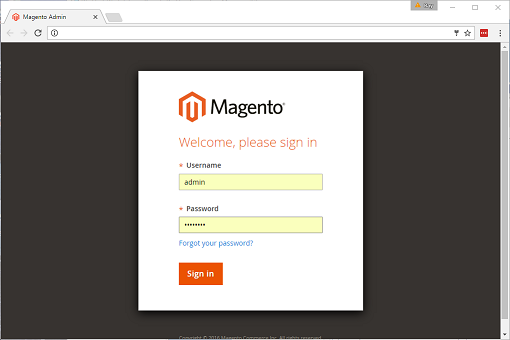
And if you try to access the Admin Interface, you should get a sign in screen that looks like this.
After signing in, the dashboard should look like this.
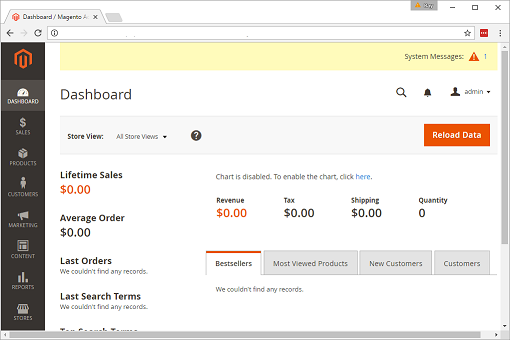
That’s it! Magento is ready to go. Since I’m not a Magento expert/developer, I can’t comment further, but from the documentation I read, it looks like you might need to execute this command:
php magento setup:static-content:deploy
Every time you change something (code, plug-in, theme, etc.). I recommend doing the development work on your local machine first, testing it, and then re-deploy all the files again to the server to make updates.