OpenCart is an open source PHP based ecommerce solution, and in this tutorial, I will show you how to get it up and running here at Winhost. First, I suggest you create a MySQL database through the Control Panel.
Click on the Sites tab.
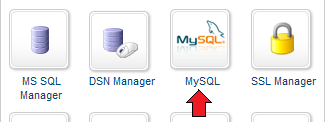
Click on the Manage link and then click on the MySQL button.
Click the Add button and enter the values for Database Name, Database User, and Quota. Click the Create button to finish creating the database. Now click on the Manage link and record the connection information (Database Name, Database Server, Database User, and Database Password) on a piece of paper or a text editor such as Notepad.
Next, you’ll need to obtain the source download from the OpenCart website.
Extract the contents using a decompression program such as WinZip or 7-Zip. Navigate to the upload folder of the extracted files. Rename the php.ini file to user.ini and create a web.config file with this configuration:
We rename the php.ini file to user.ini because the php.ini settings are global and cannot be accessed by an individual user. Please read our other blog for more information. If you want a list of settings that you can manipulate in the user.ini file, please see these links on the official PHP site and look at the Changeable column.
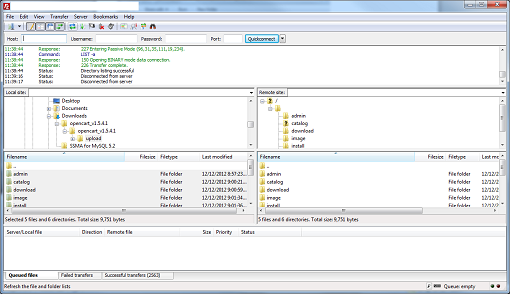
We add the web.config file so that “index.php” will load automatically. Now upload the files to the root of your site account, preserving the directory structure as shown here:
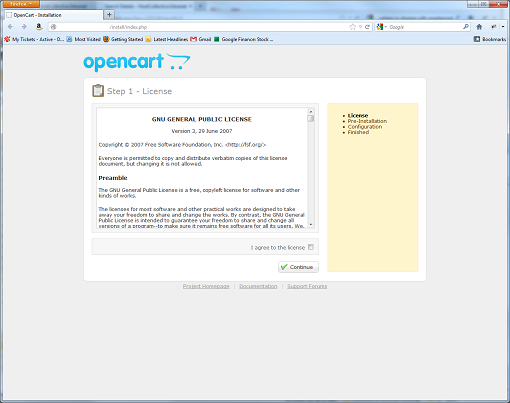
Now browse to your site using either your domain name (if you have already set it up correctly) or Secondary Web URL to start the installation.
Check I agree to the license and the Continue button to proceed.
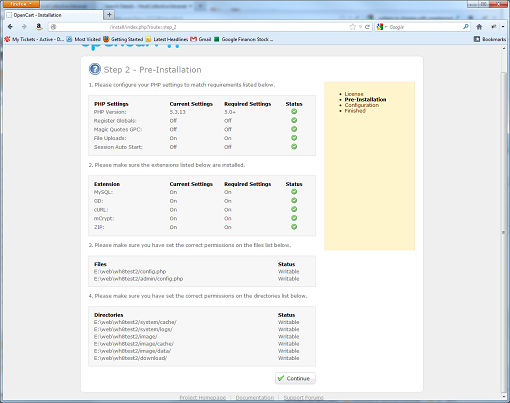
After a PHP check, click on the Continue button to proceed.
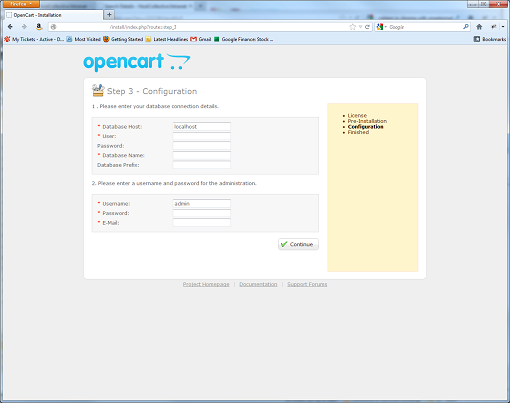
Enter the MySQL connection credentials you recorded earlier and fill out the information for the admin account. Click on the Continue button to proceed.
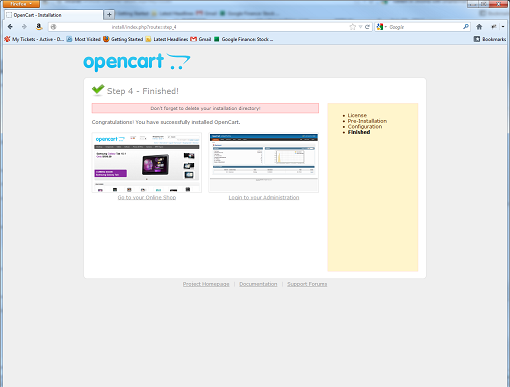
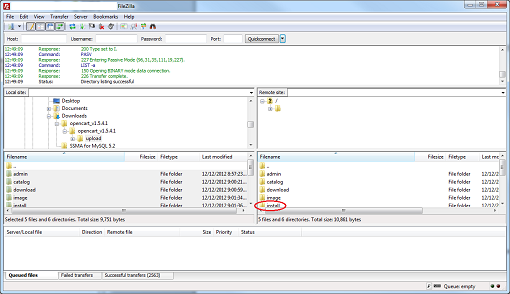
The installation has been completed. The last thing you should do is to delete the /install directory using FTP.
You can start developing your site or make other configuration changes.