Site hosting news, tutorials, tips, How Tos and more
Some customers have asked what is the best way to prevent visitors from accessing certain files on their sites. The solution we generally recommend is what I am going to cover in this article.
First you will need to connect to your site through IIS Manager and the instructions can be found here: https://support.winhost.com/kb/a628/using-the-microsoft-iis-manager.aspx
Once you have made a successful connection you should get a screen that looks like the one below:
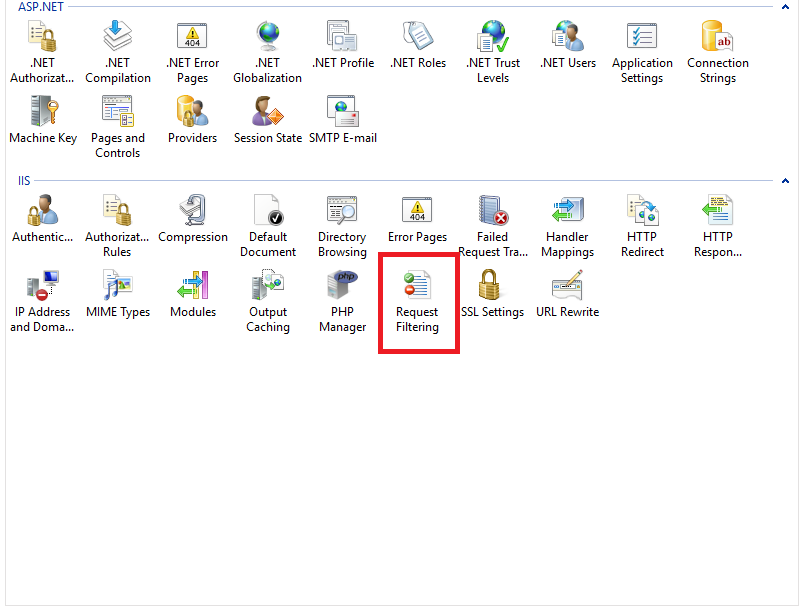
Double click on the highlighted (red box) “Request Filtering” option. On the next screen, navigate to the “Hidden Segments” tab.
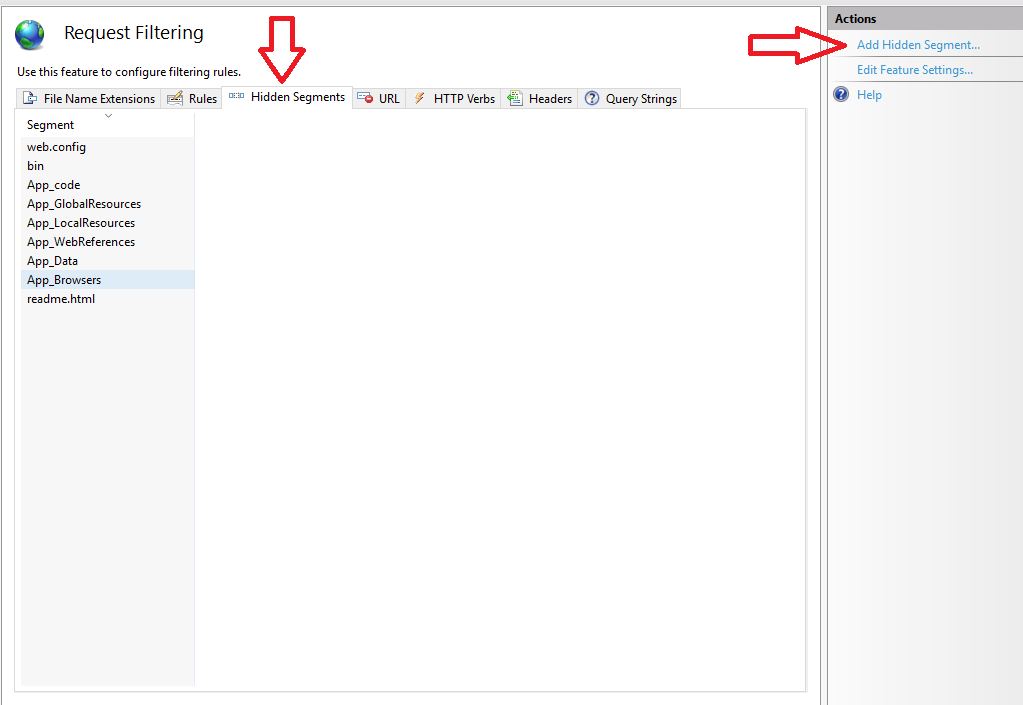
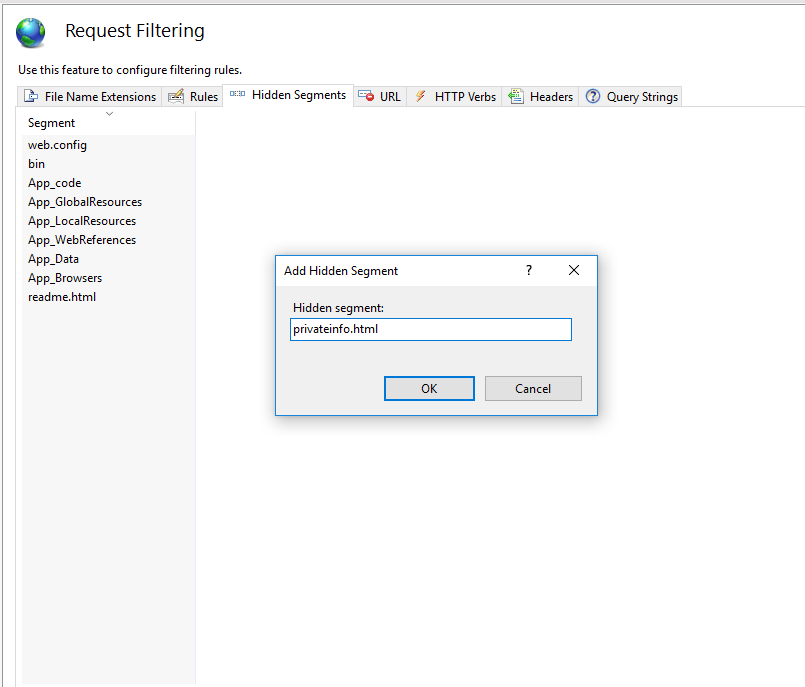
This screen will probably list some default files that are blocked. We will add the file from our site that we don’t want visitors to access. To do this, click on “Add Hidden Segment” and type in the filename you want to deny access.
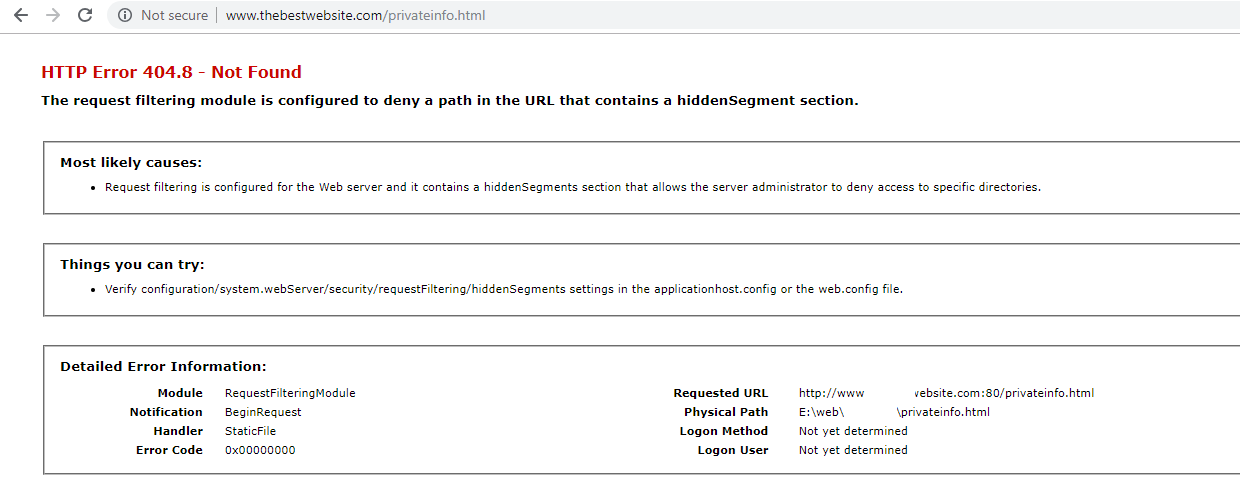
And that’s all there is to it. Now when someone tries to navigate to that file they will get the error demonstrated below.
Before:
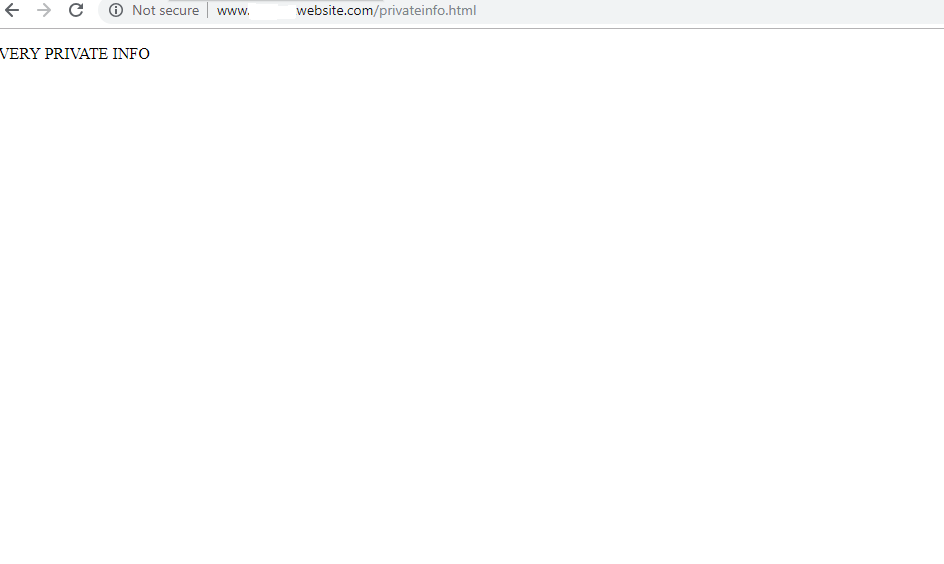
After:
This is how the rule appears in your web.config after created.
<?xml version="1.0" encoding="UTF-8"?>
<configuration>
  <system.webServer>
    <security>
       <requestFiltering>
          <hiddenSegments>
             <add segment="readme.html" />
             <add segment="privateinfo.html" />
          </hiddenSegments>
       </requestFiltering>
    </security>
  </system.webServer>
</configuration>
I hope this helps you protect your site.
![]()
**This article assumes that you have a WordPress site installed at Winhost. If you don’t and want to install WordPress, go to your Winhost control panel and find WordPress under the App Installer.**
To begin you will need to log in to the Admin section of your WordPress site which can be accessed by adding /wp-admin after your domain name such as: HostingAccountDomain.com/wp-admin
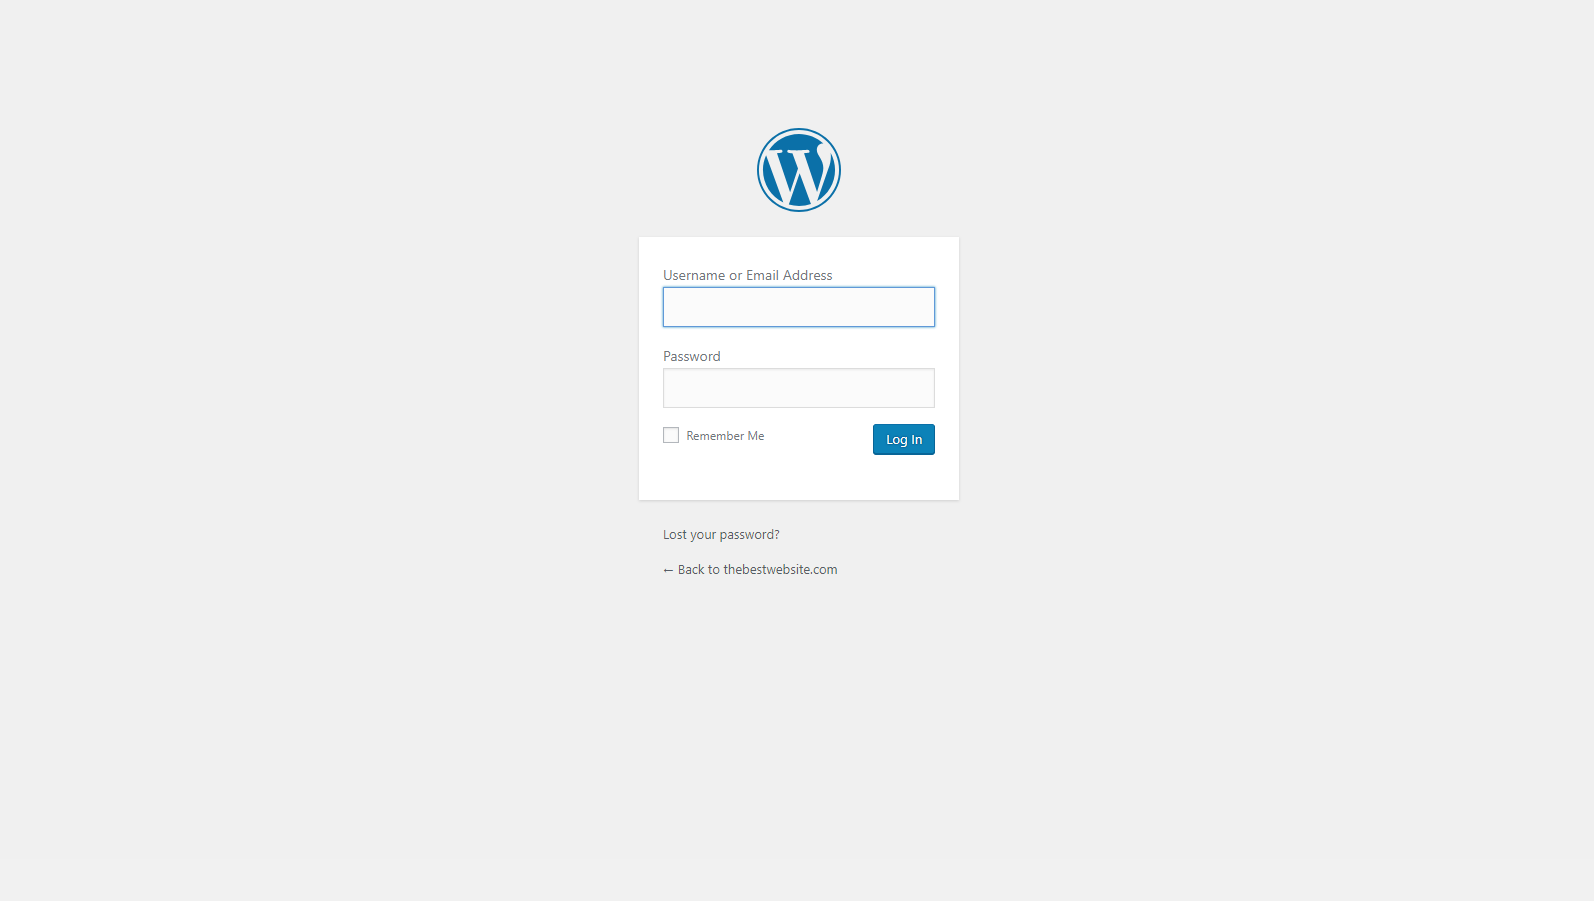
Enter your Username and Password and Log In to be taken to the Administrator Dashboard.
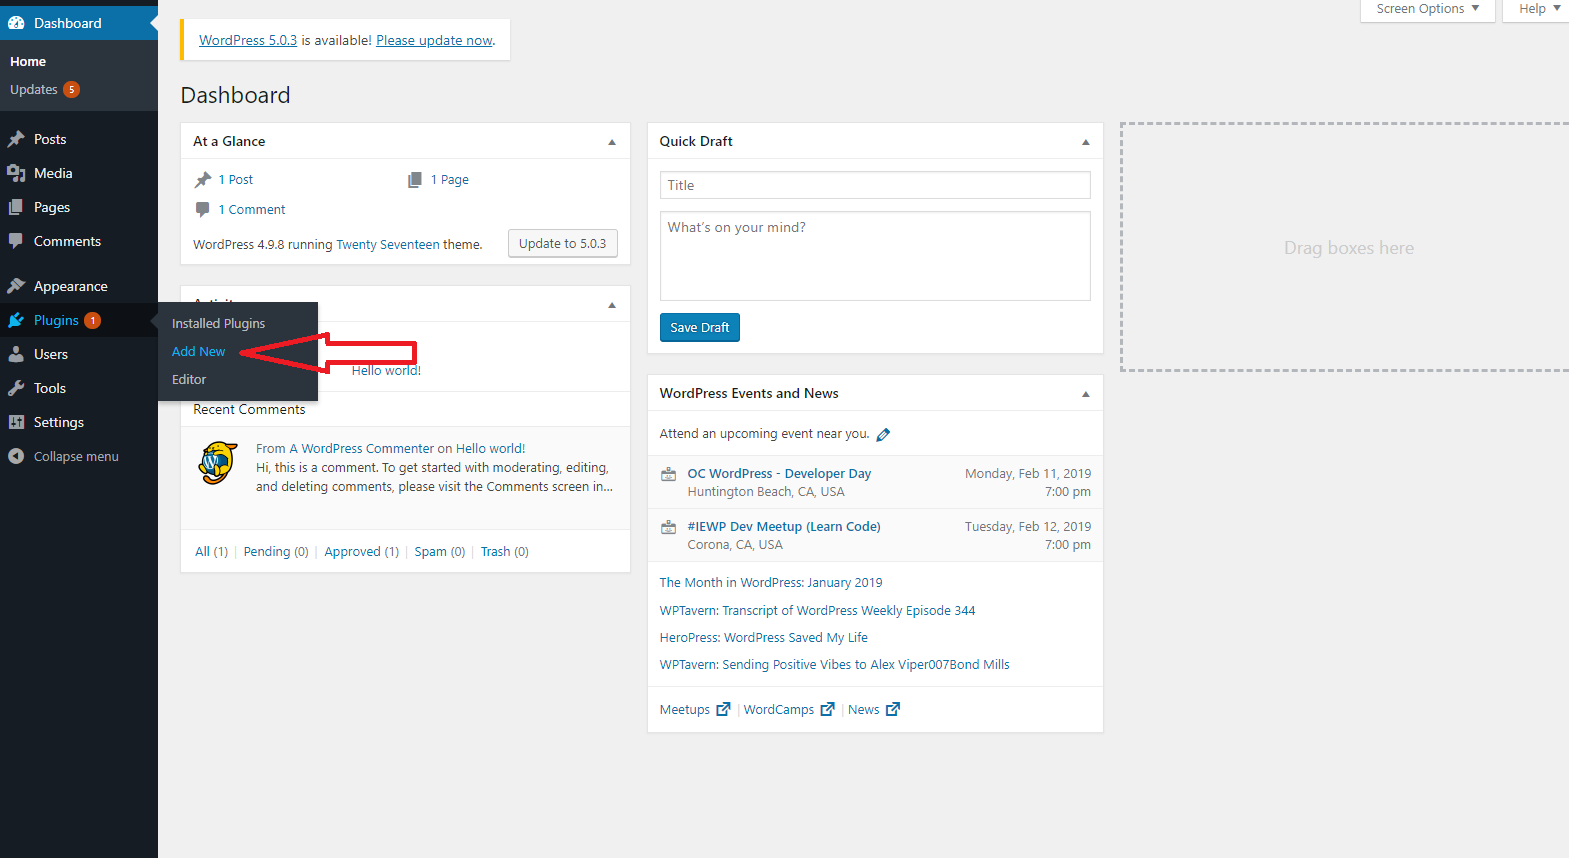
From the Dashboard, head down to Plugins – hover over it for a second and in the sub-menu click on “Add New”.
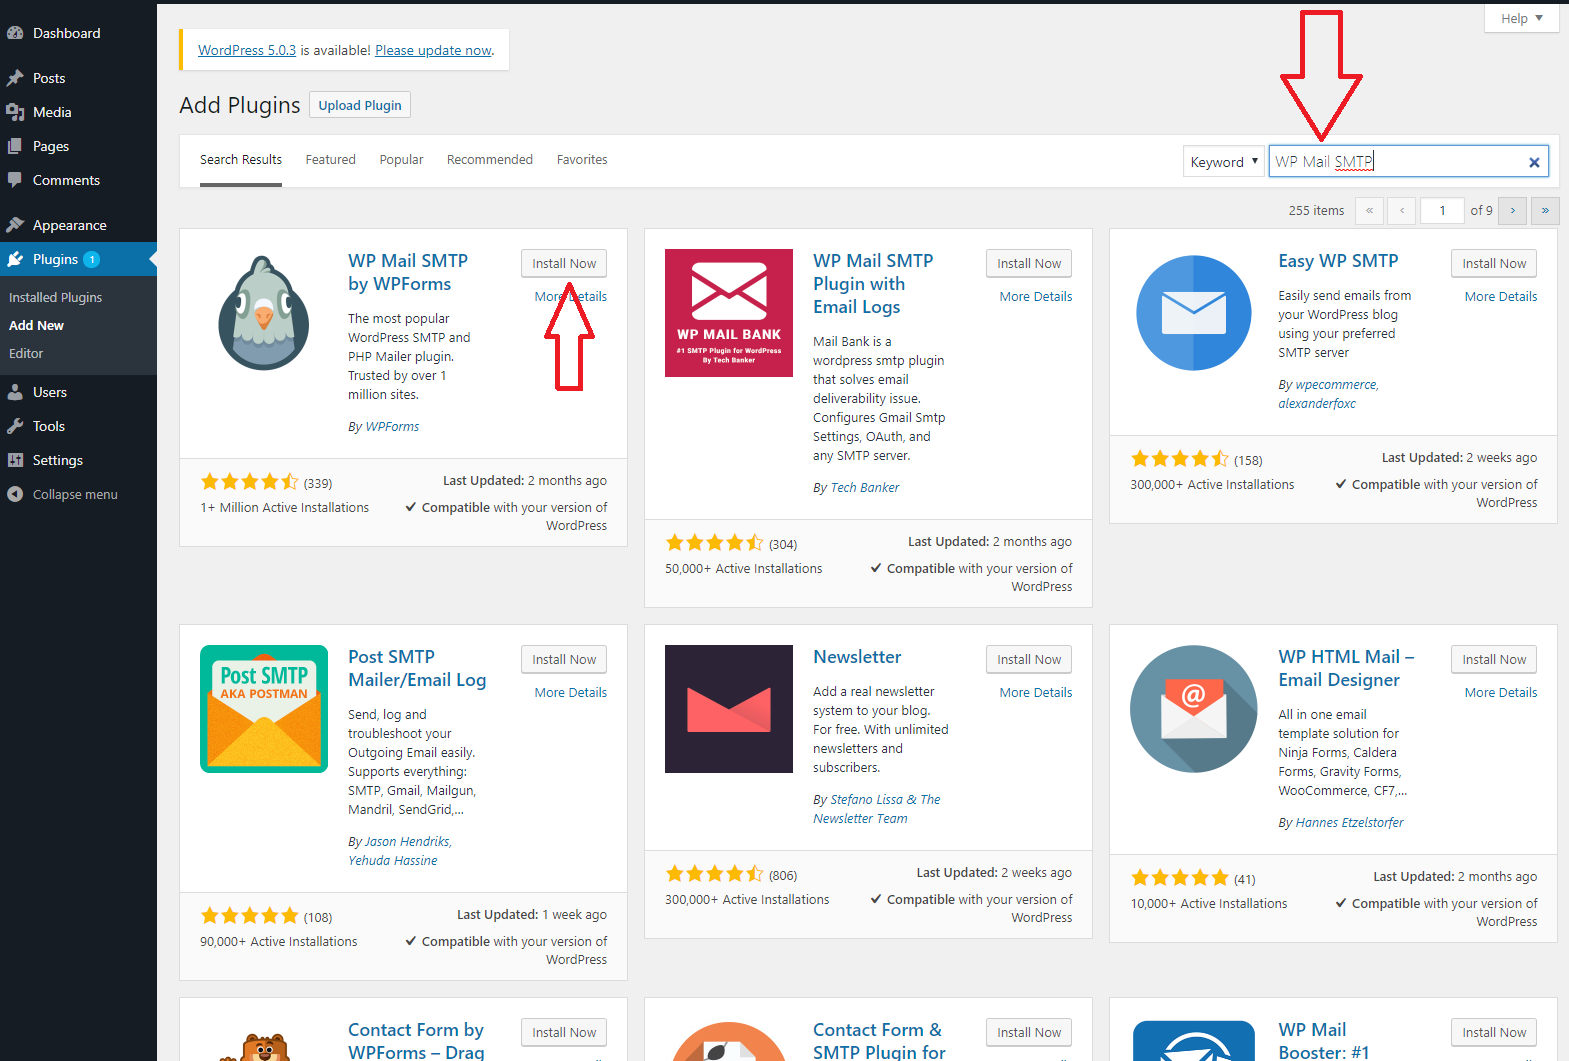
From the Plugins store go to the search bar in the top right and enter “WP Mail SMTP”. The one you’re looking for should be the first option with the bird as the icon. Go ahead and click on “Install Now”. Wait for the plugin to install and click Activate once it has installed.
Now you’re going to want to go to settings and you’ll notice there is now the option for “WP Mail SMTP” Settings.
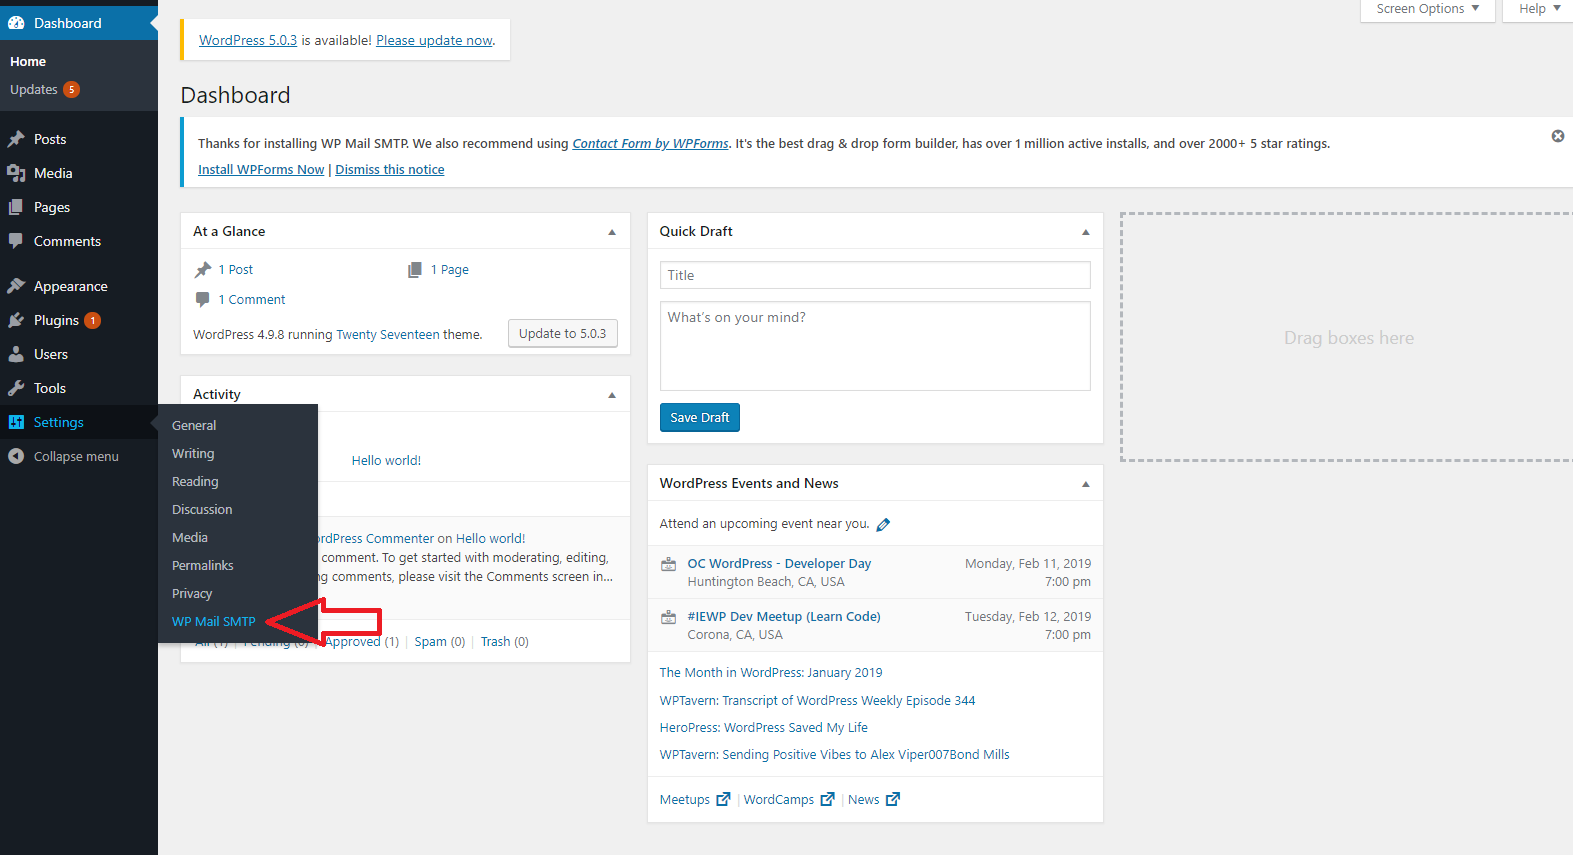
Click on this to be taken to the screen below:
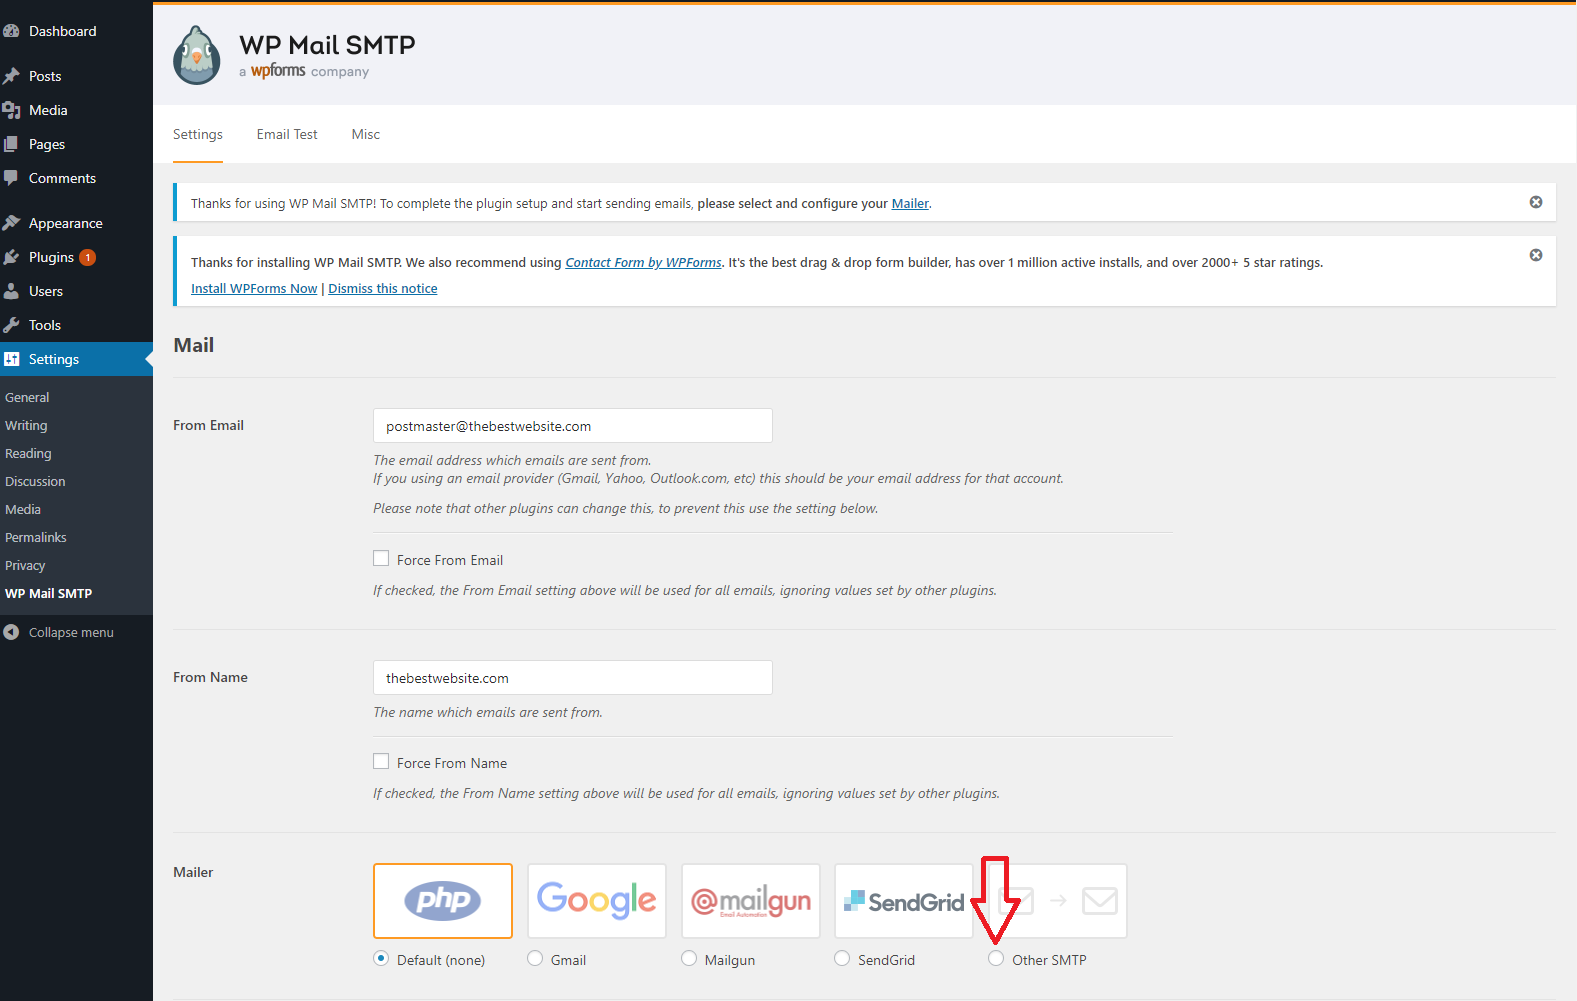
On this page you can adjust some mail settings. The one we want to focus on is in the Mailer section. We want to change this to “Other SMTP” where the red arrow is pointing to above.
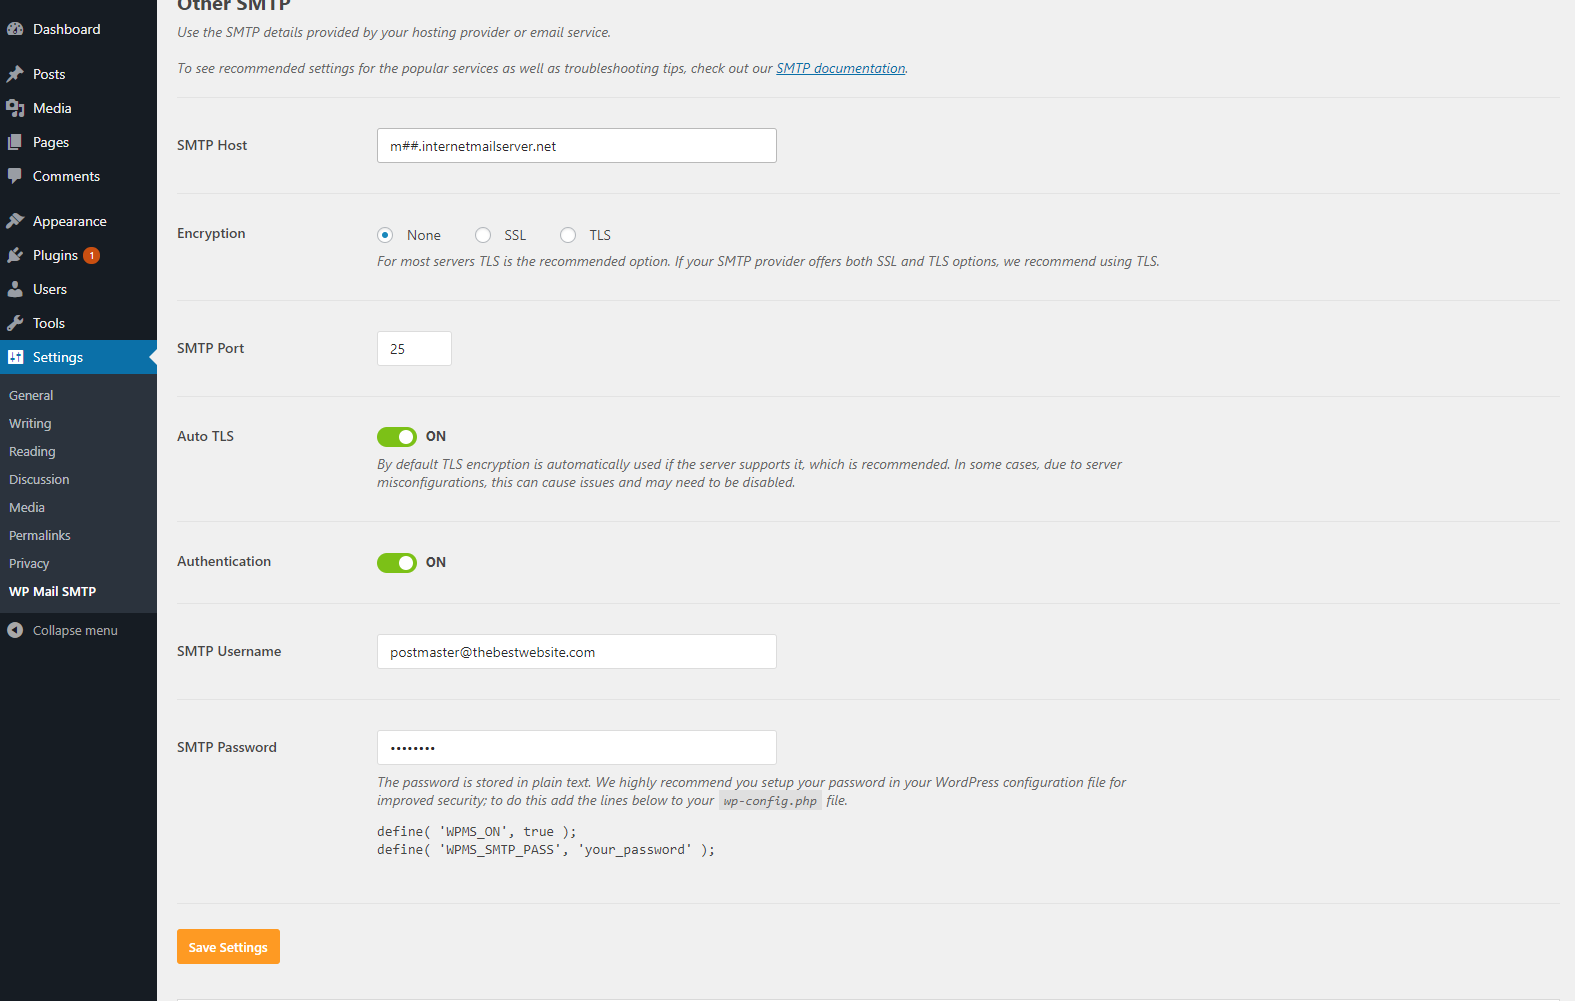
Once you change that, new settings will appear that you must fill out.
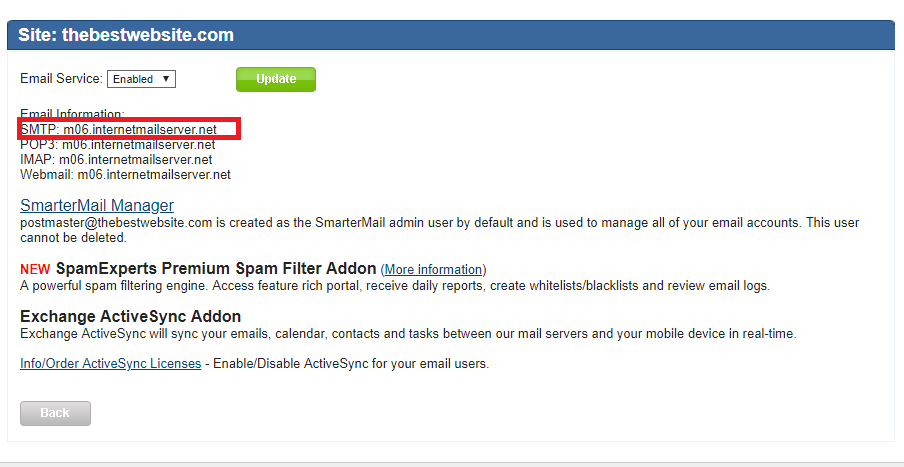
SMTP Host: This can be found in the Winhost Control Panel under Email. You will see your Email server information next to SMTP and should look like m##.internalmailserver.net
Encryption: Leave at None for now
SMTP Port: 25
Auto TLS: Leave this on
Authentication: You’ll want to click this “ON”
SMTP Username: Your full email address
SMTP Password: The password for your email account.
After entering your Email information in all the fields click on Save Settings. This will take you back to the top of the page and everything should be all set (if there was no information entered incorrectly).
You should see a tab for Email Test, go ahead and click the tab and enter an email account you have access to and click Send Email to send a test message. You should be receiving an email that looks like below.
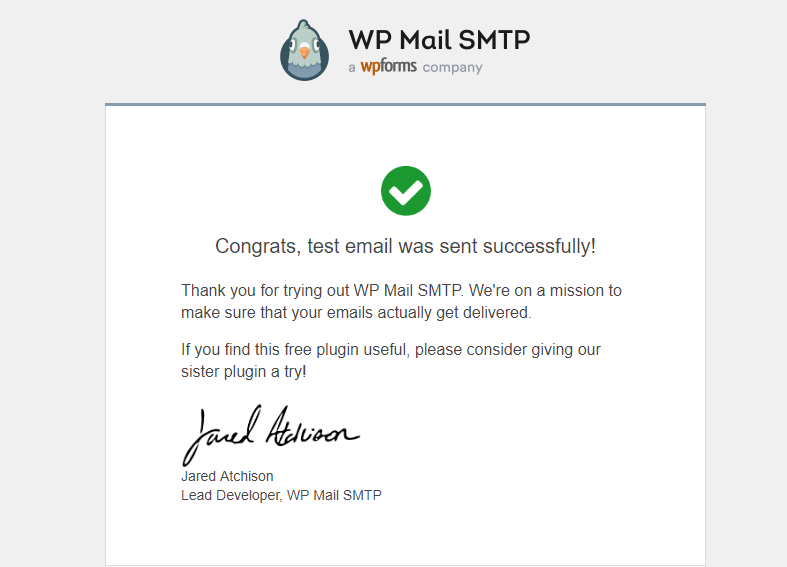
If you received this test email, then congratulations! You are all set to send and receive email through your WordPress site.
If you did not and received an error somewhere along the way, submit a support ticket and we will help walk you through the process.
Visit Winhost to learn more about our WordPress hosting solution