In this tutorial we will be showing you how to install WordPress using the App Installer feature in the Winhost Control Panel.
You will need a MySQL database, which you can add from within your hosting account.
To get started, log in to the Winhost Control Panel.
Click the “Sites” tab at the top.
Click “Manage” next to the site you wish to install WordPress on.
On the next page you will set up the MySQL database that you will be using for WordPress.
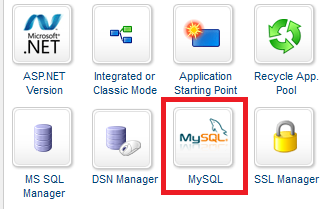
Click the “MySQL” icon:
Now create a MySQL database by clicking the “Add” button.
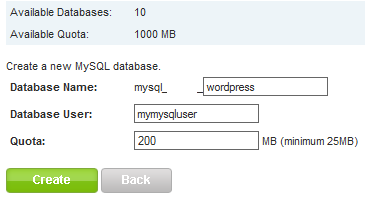
Enter a database name and user name and the amount of disk space you wish to allocate to the MySQL database:
Click “Manage” next to the MySQL database to change the password for the MySQL User you just created:
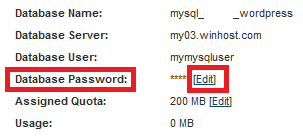
IMPORTANT: Make a note of the MySQL information because we will need this when installing WordPress.
Go back to the “Sites” tab and click “Manage” next to the site you wish to install WordPress on.
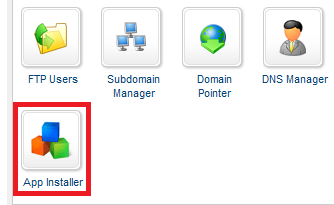
Click the “App Installer” icon:
Scroll all the way to the bottom of the page and look for WordPress. Then click “Select this Application”:
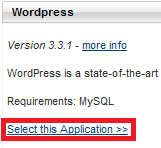
For the sake of this tutorial I’ll be installing WordPress on the root of my site. To do this you will need to remove the “wordpress” text in the AppPath field, leaving the text field empty:

If you wish to install WordPress in a subdirectory, enter the subdirectory in this field. Where you install WordPress depends on how your site is laid out. In most cases the application will be installed in a subdirectory.
WARNING: Installing WordPress on the root of your site will delete everything that is currently on your site’s root. If you install in a subdirectory, the installer will clear the subdirectory and not your root (of course it’s always best to backup your site files first when installing a new web application in case something goes wrong with the installation).
Click the “Install Application” button when you are ready to continue with the installation of WordPress.
If every went according to plan then you should receive the following message.
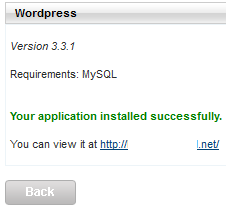
Click on the link after “You can view it at” to continue with the installation.
Click the link to go to your WordPress Installation. You’ll see the error message below. Click the “Create a Configuration File” button:
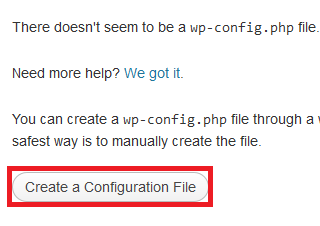
On the next page you will see a list of things you will need in order to install WordPress; Database name, Database username, Database password, and Database Host.
Next, click the “Let’s Go!” button.
Enter the information you made note of when you set up the MySQL database:
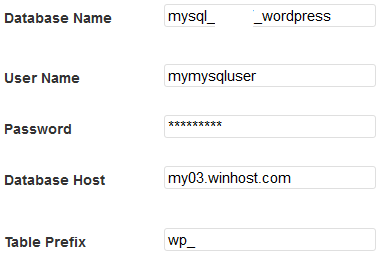
Click the “Submit” button.
Click the “Run the Install” button.
On the next page you will choose the settings that you wish to use for your WordPress application. Be sure to remember the Admin User Name and Password for WordPress. If you forget the user name and password you may need to repeat the installation.
Once you have configured the settings you wish to use, click the “Install WordPress” button. This will bring to the next page confirming you have successfully installed WordPress.

If you run into any issues or have any questions regarding WordPress. Please post your questions in our Community Forum. The Technical Support department is unable to assist with WordPress installation or configuration.
No responses yet