
Did you know there are multiple ways of installing/deploying your favorite Content Management System at Winhost? Below, I provide 3 general guidelines and briefly explain the benefits/drawbacks of each. (I’ll be using DotNetNuke as an example.)
Method 1: Installing the Content Management System using the App Installer tool in the Control Panel
- Log into the Winhost Control Panel.
- Click on the Sites tab.

- Click on the Manage link next to the Site you want to manage.
- Click on the App Installerbutton.

- Find the Content Management System and review the requirements. If it requires a higher hosting plan, then you should upgrade. If it requires a specific ASP.NET version, you should change it through the Control Panel. If it requires a database, you should create it beforehand and take note of the connection string information.
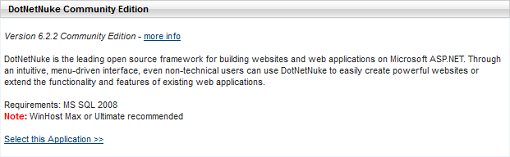
- When you are ready, click on Select this Application >>
- Fill out the application parameters. For the application path, leave it blank to install it to the root of your site account or enter a sub-directory that you want it installed to. Fill out any database parameters as well.
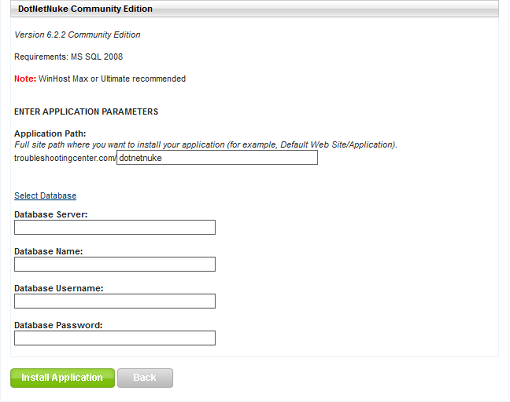
- Click on the Install Application button to load the files on to your site account.
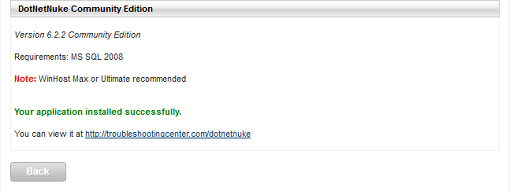
- Once you get a message that your application has installed successfully, proceed on navigating to the root/sub-directory to configure it. (Note: Please use your Secondary URL address if you have not pointed your domain name over to us or registered one yet.)
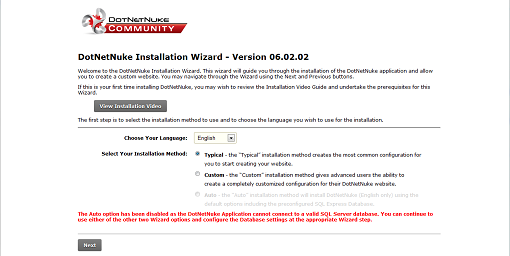
Configuring DotNetNuke example:
- Select Typical and click on Next.
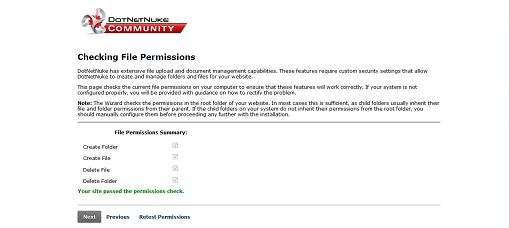
- Make sure the CMS requirement check passes and click on Next.
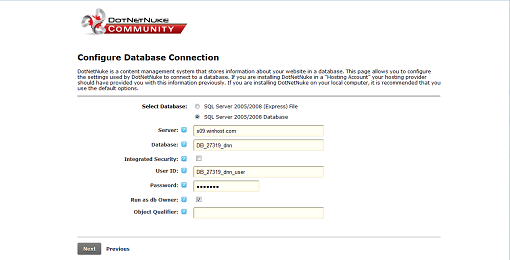
- Enter the database connection information and click on Next.
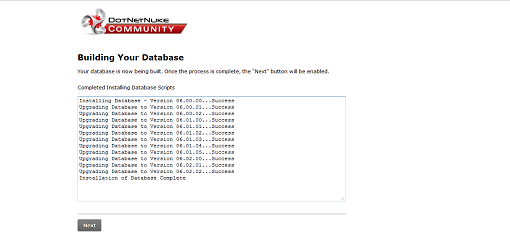
- The database tables will install. Once complete, click on Next. (If you have problems with this step, try using an empty database.)
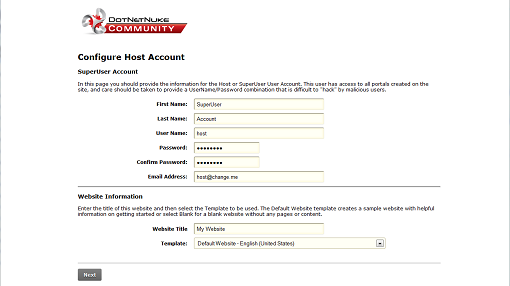
- Fill out the SuperUser Account and Website Information. Click on Next.
- Success!

Benefits: The benefit of using this method is that you do not have to upload any files.
Drawbacks: A slight drawback is that CMS version might not be the latest. This may not be a problem as most CMS nowadays have upgrade modules which you can invoke after the install.
Please also note using the App Installer tool will wipe out any files in the installation directory. If you have files in the root, this is not a good idea. Make sure you make a backup copy of your site before using the App Installer tool.
If you install the application to a sub-directory, it will also mark it as an application starting point. If you have multiple apps running on your site, you will need to take this into consideration if you need to make web.config modifications.
Method 2: Installing the Content Management System using FTP
- Obtain the installation files from the Content Management System vendor’s site. (e.g. http://www.dotnetnuke.com/) Do not get the source code version. Get the runtime version. It is usually in the form of a .zip file.
- Extract the archive file’s contents.
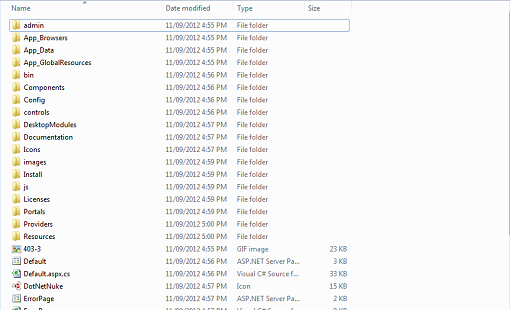
- Upload the files using an FTP client such as FileZilla. If you deploy it to a subdirectory, you might need to mark it as an Application Starting Point using the tools in the Control Panel. This is not necessary if you install it to the root.

- Now navigate to your site/sub-directory using a browser to start the installation/configuration wizard. For PHP based applications, you might need to add index.htm or index.html to the URL because it is not set up as a Default Document. You can then follow the CMS’ wizard to complete the installation. (I won’t repeat myself here, but since I am using DotNetNuke as an example, you can follow step 9 and on from Method 1 if you’d like to try it out yourself.)
Benefits: The benefit of using this method is that you can use the latest version of the CMS or install a CMS that is not available through the App Installer such as OpenCart.
Drawbacks: The drawback is that you need to be more aware of the CMS’ requirements and may need to perform more steps to configure it properly. It also may not be a viable option if the CMS is particularly large, and you have a slow Internet connection (i.e. it would take a very long time to upload the files).
Method 3: Installing the Content Management System using Microsoft Web Matrix
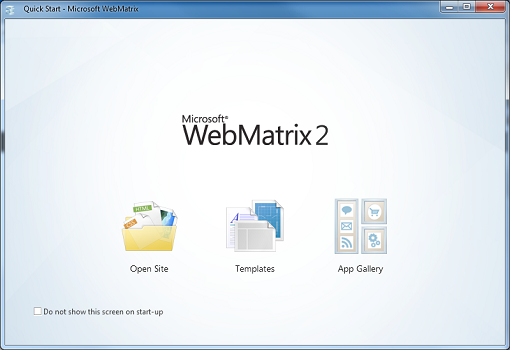
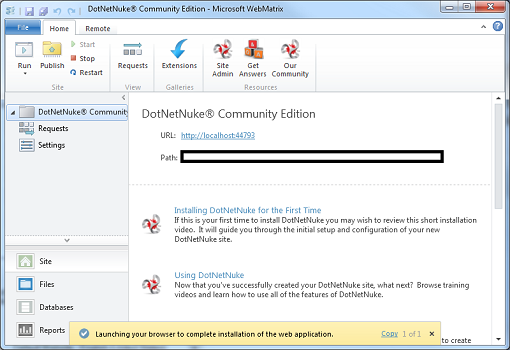
- Launch Microsoft Web Matrix.
- Click on App Gallery.
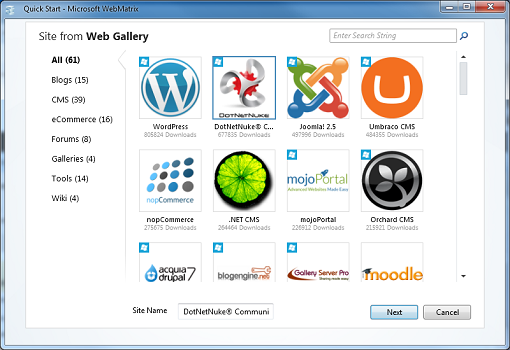
- Select the Content Management System you want to install and click on Next.
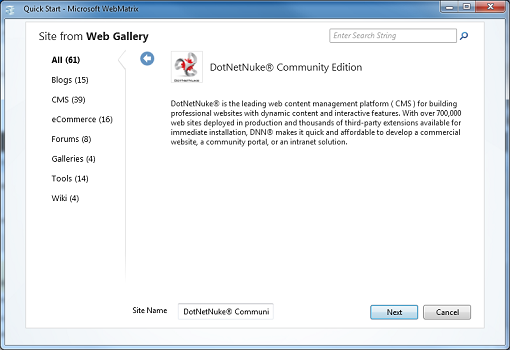
- You will see an Application Description page. Click on Next.
- A wizard will guide you through the process of installing it on your local machine. Click OK when you are done. (Pay attention to the pre-requisites. For this demo, SQL Server Express needs to be installed on your local machine.)

- Your default browser should launch to help you configure the application locally. (See section Configuring Dotnetnuke example for an example.) This will allow you to develop your website locally.
- Go back to Microsoft Web Matrix when you are finished with developing your site.
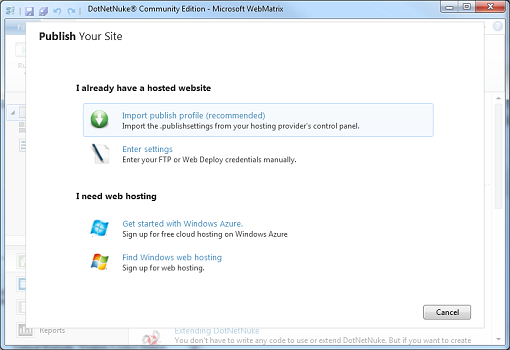
- To deploy your site to Winhost, click on the Publish icon.
- You will see 2 options: Import publish profile (recommended) and Enter settings. You can enter the settings manually, and all the information you need to supply can be found in various sections of the Winhost Control Panel. We also provide you with a basic publishing profile (web server settings, not database). You can find it by going to Winhost Control Panel -> Sites -> Manage -> Web Deploy [Publishing Information]. Click on the link to download it.

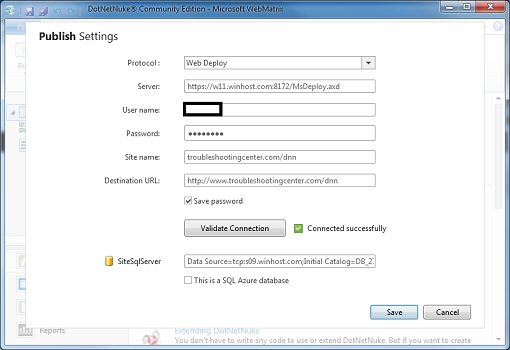
10. For this example, I will use Import publish profile (recommended). Below is a sample screen shot, and I’ve manually entered the database connection string (found in the Control Panel). Click on the Validate Connection button. If it does not say Connected Successfully, then you may have entered the wrong settings or you may have antivirus/firewall software blocking the connection. Click on Save and Continue a few times. (Don’t worry if you get a warning about site compatibility. It should still work.)
11. You will now see a Preview screen, and you can choose what you want to publish. Click Continue when you are done checking the files/database you want to update.

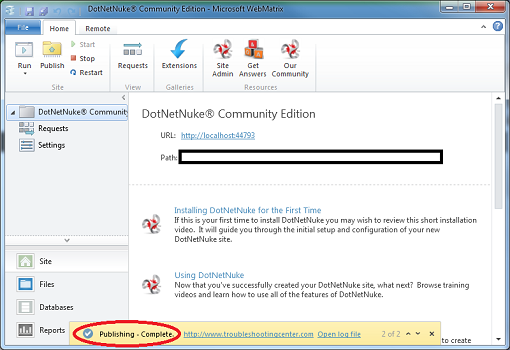
12. You will get a Publishing – Complete message when you are done.
Benefits: The greatest benefit to this method is that you can develop your site locally.
Drawbacks: The drawback with this method is that you may need to perform a lot of prerequisite setup prior to the installation. Configuring changes locally may also not work when you deploy to Winhost. You may still need to make some further alterations to the web.config file.
As with Method 1, you need to be careful when publishing as files in the destination could be overwritten. Always make a backup of your site prior to publishing.
You may also want to spend some time reading this great post from one of our customers on the forums:
http://forum.winhost.com/showthread.php?t=8565&highlight=dnn+installation

No responses yet