
Site hosting news, tutorials, tips, How Tos and more
Having an email message to take forever to arrive can be very annoying and sometimes it leaves people wondering why is this even happening. In this article I’ll show you how to analyze email headers of an email message.
What is an email header?
An email header is a timeline of where the email message went through to get to you and the different email systems it touched during the delivery process. It’s sort of like looking at the tracking information of your UPS delivery. The only way to find out where the slowness is happening is to review the email header of that sluggish email message.
Where can I find the email header?
First, the email message must arrive at the destination before you can review the headers. We have instructions on how to view email headers in our knowledge base. There are multiple ways of viewing the headers. Here is another list that can help you find your email headers.
How to analyze the email header
Email headers can look ugly and hard to understand. Luckily there is a email header analyzing tool provided by MxToolBox.com that can help with that.

Copy and paste that ugly looking email header into the empty field and click on Analyze Header.
In the results, the email server with the longest bar graph is going to be the email server that is causing the most delay.
Why is this occurring?
There are many different reasons why an email message could be slow. One common reason is that the email server that caused the most delay had a large amount of email messages to process. If you see that the latency is happening in one of our email servers, we will gladly check our system for you and the logs to see what might be happening. Please contact our support department via our support portal for assistance.
For the most part most email servers are temporarily handling large volume of emails and will go back to normal performance on their own. However, if you’re seeing this issue keeps happening at a particular email server, you can contact the email administrator of that email system and provide them with the email header as proof.
Visit Winhost to learn more about our Windows hosting solution
![]()
**This article assumes that you have a WordPress site installed at Winhost. If you don’t and want to install WordPress, go to your Winhost control panel and find WordPress under the App Installer.**
To begin you will need to log in to the Admin section of your WordPress site which can be accessed by adding /wp-admin after your domain name such as: HostingAccountDomain.com/wp-admin
Enter your Username and Password and Log In to be taken to the Administrator Dashboard.
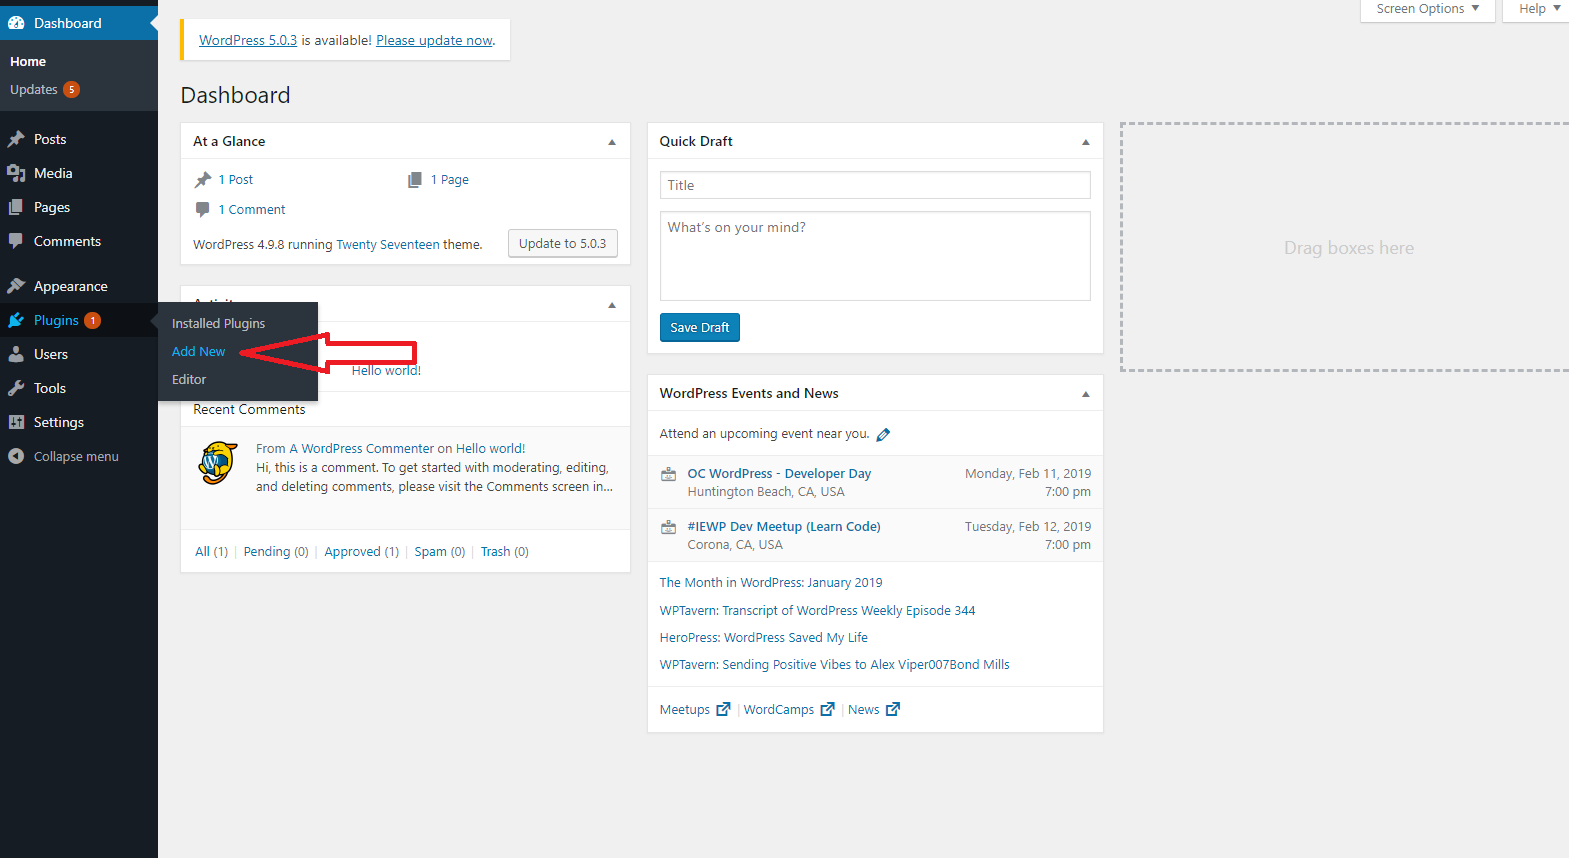
From the Dashboard, head down to Plugins – hover over it for a second and in the sub-menu click on “Add New”.
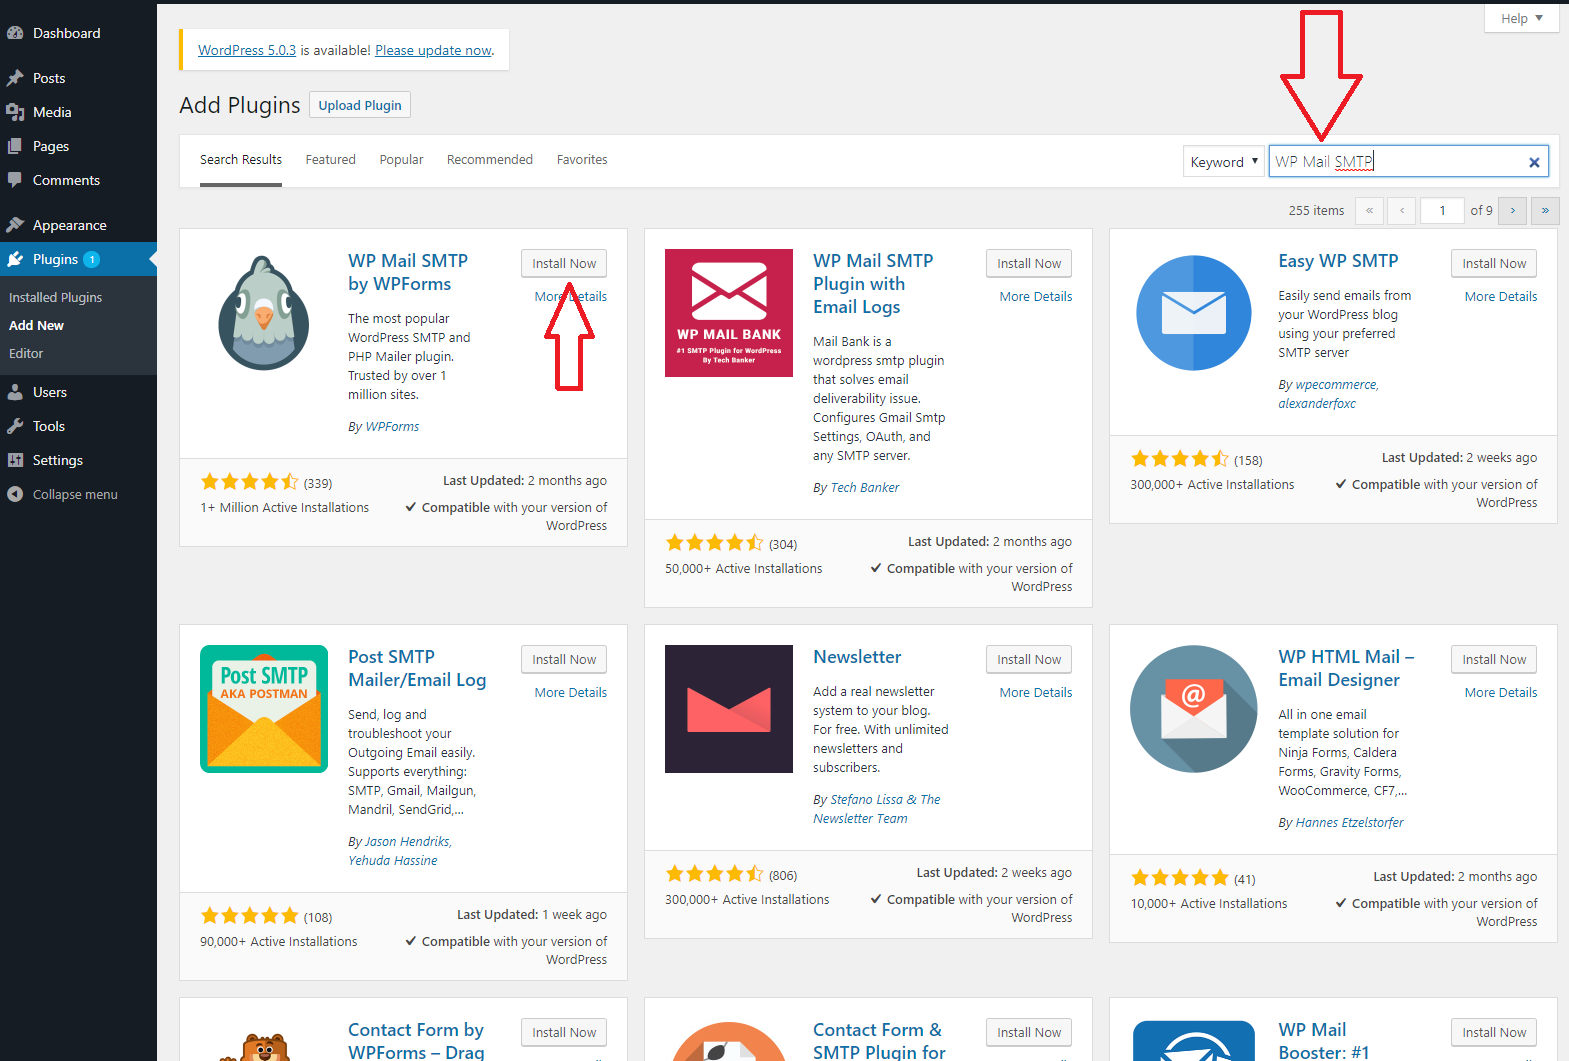
From the Plugins store go to the search bar in the top right and enter “WP Mail SMTP”. The one you’re looking for should be the first option with the bird as the icon. Go ahead and click on “Install Now”. Wait for the plugin to install and click Activate once it has installed.
Now you’re going to want to go to settings and you’ll notice there is now the option for “WP Mail SMTP” Settings.
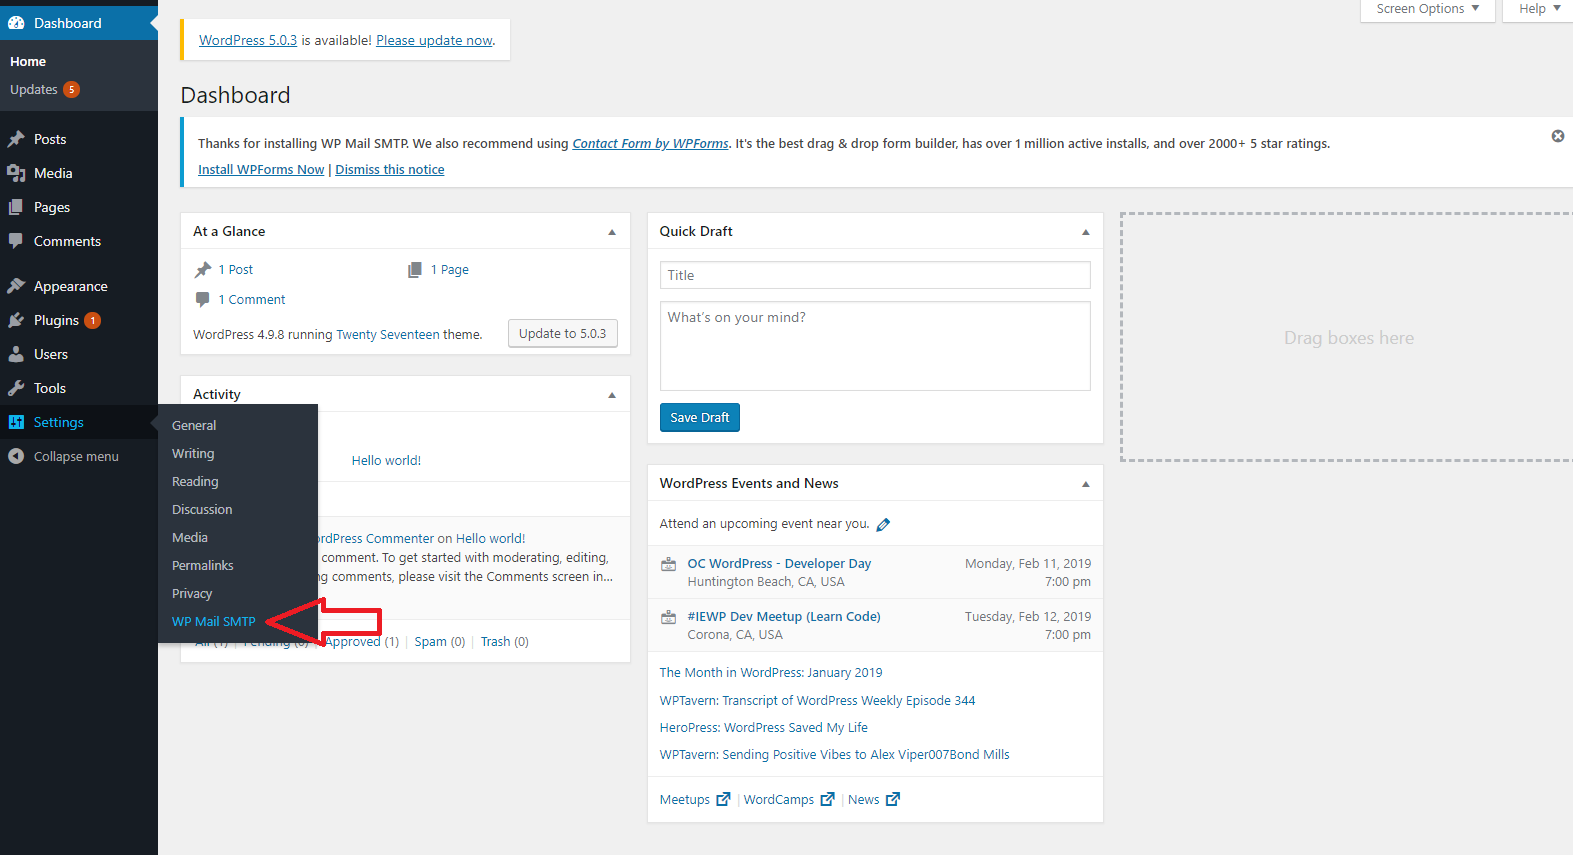
Click on this to be taken to the screen below:
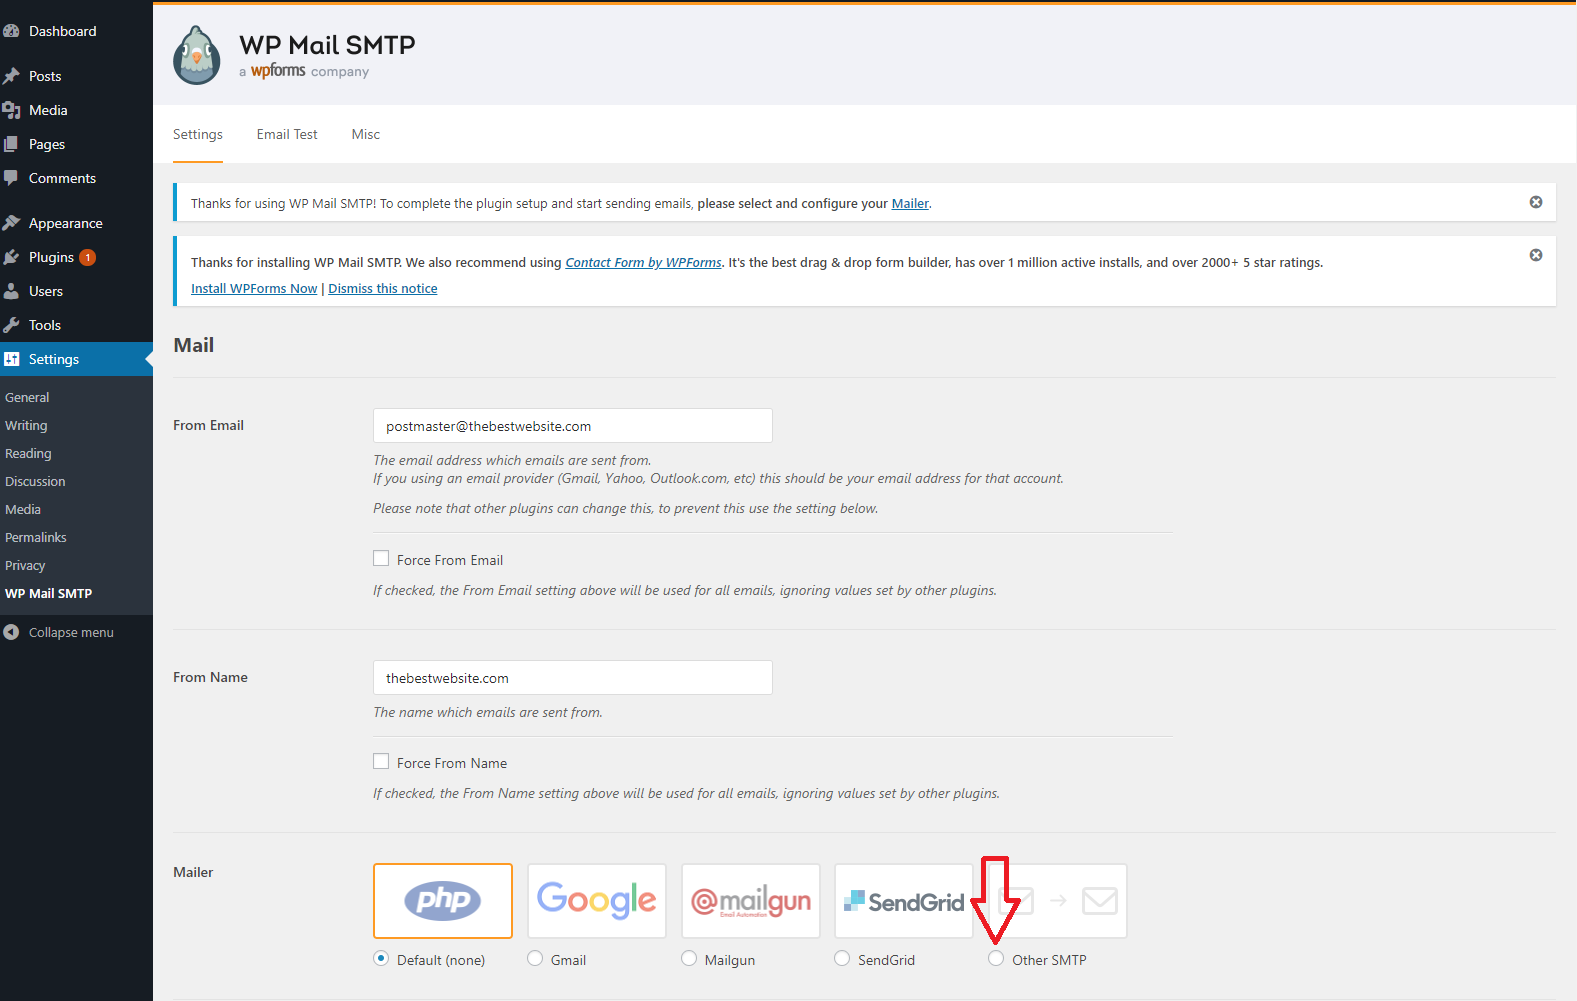
On this page you can adjust some mail settings. The one we want to focus on is in the Mailer section. We want to change this to “Other SMTP” where the red arrow is pointing to above.
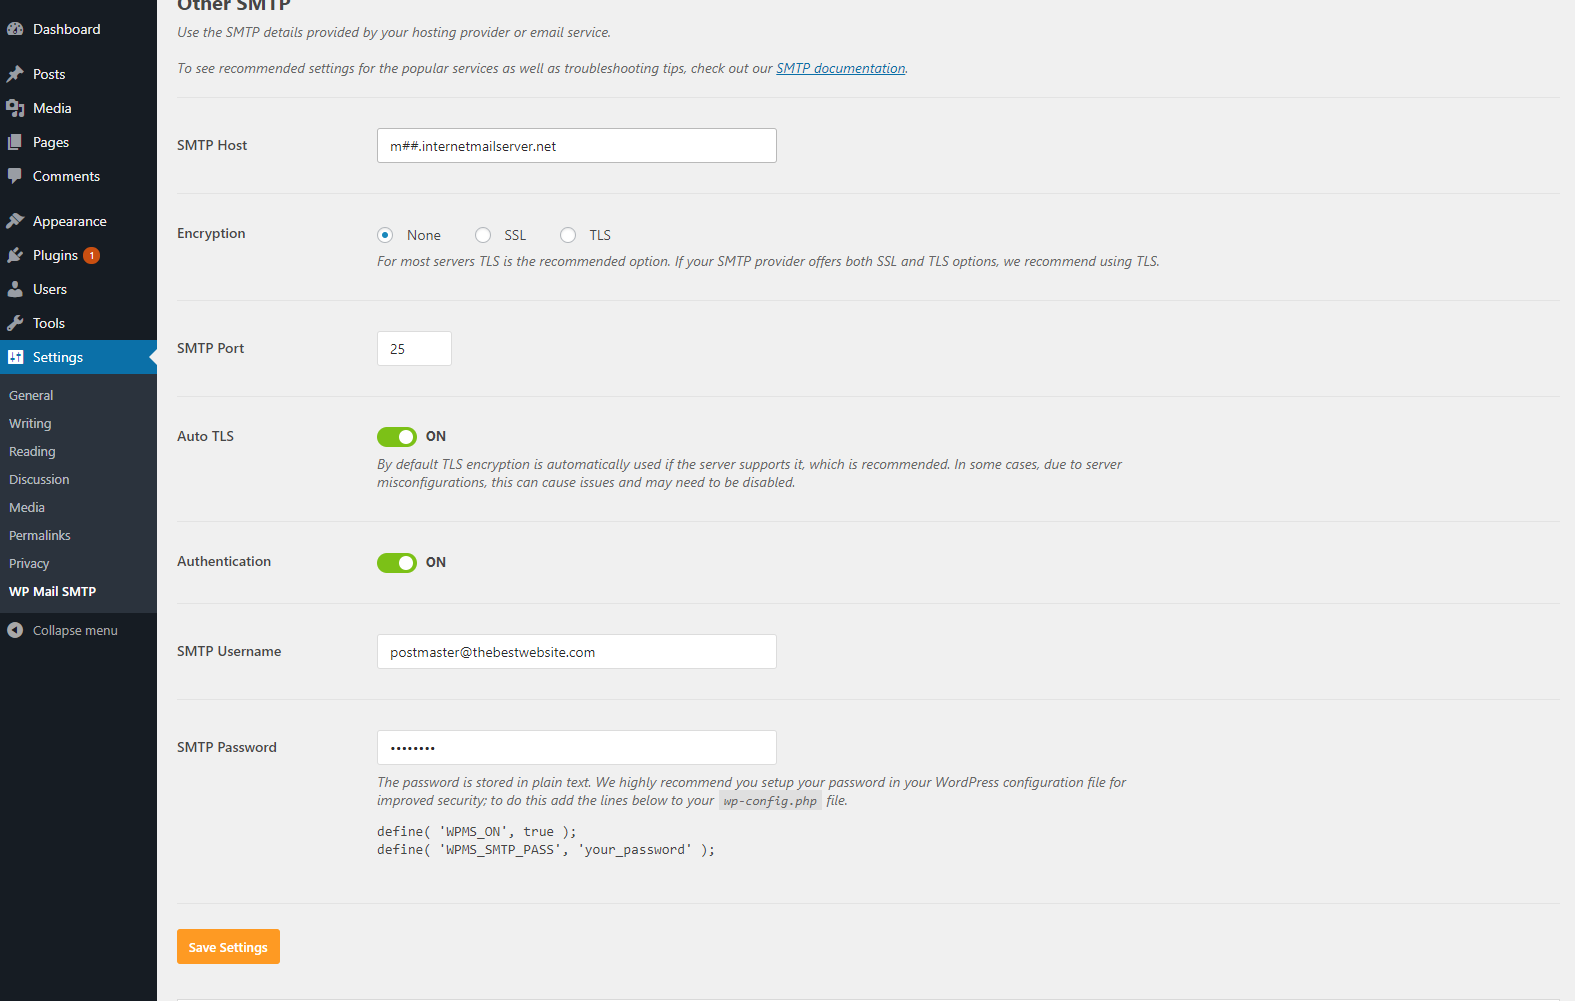
Once you change that, new settings will appear that you must fill out.
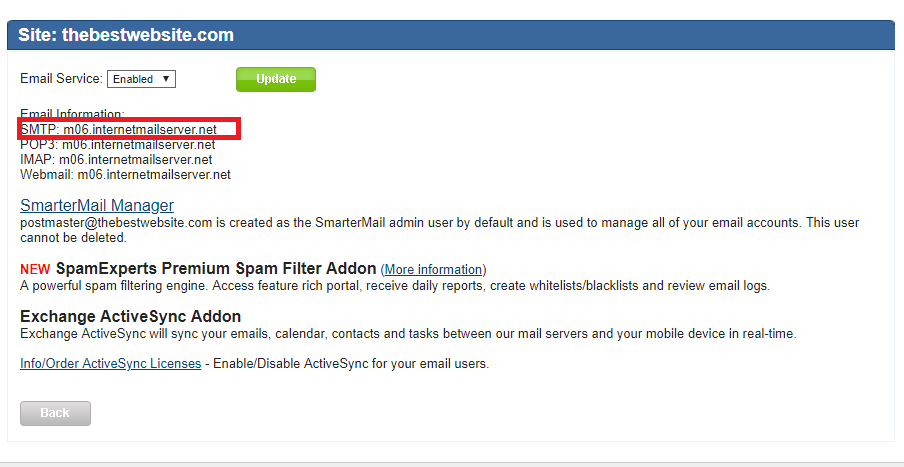
SMTP Host: This can be found in the Winhost Control Panel under Email. You will see your Email server information next to SMTP and should look like m##.internalmailserver.net
Encryption: Leave at None for now
SMTP Port: 25
Auto TLS: Leave this on
Authentication: You’ll want to click this “ON”
SMTP Username: Your full email address
SMTP Password: The password for your email account.
After entering your Email information in all the fields click on Save Settings. This will take you back to the top of the page and everything should be all set (if there was no information entered incorrectly).
You should see a tab for Email Test, go ahead and click the tab and enter an email account you have access to and click Send Email to send a test message. You should be receiving an email that looks like below.
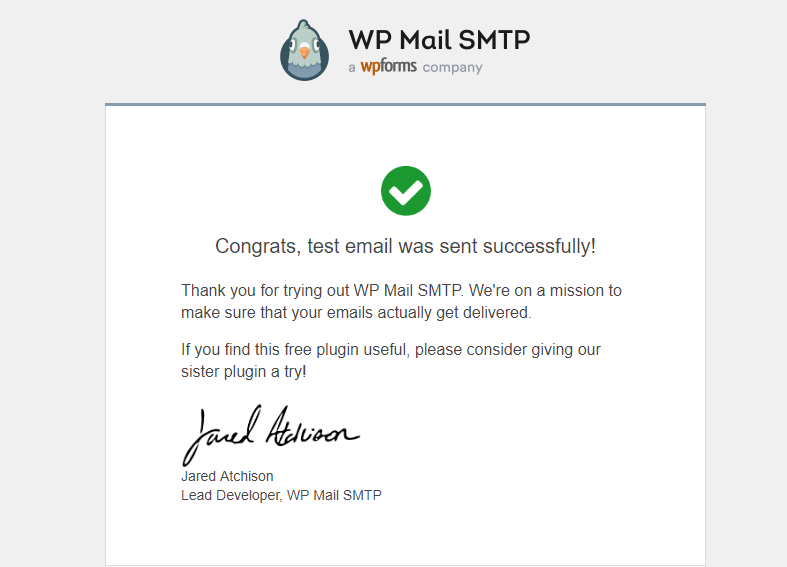
If you received this test email, then congratulations! You are all set to send and receive email through your WordPress site.
If you did not and received an error somewhere along the way, submit a support ticket and we will help walk you through the process.
Visit Winhost to learn more about our WordPress hosting solution